Cook with AI Member login
Models, tokens, context, reasoning

Fundamentals of AI

Member preview

Read the first three sections, then join to unlock the rest.

01

Introduction

By the end of this guide, you'll understand:

  • What AI models are and how they work for coding
  • The major models available and their strengths
  • How to choose the right model for your needs
  • Practical differences between subscription and API pricing
  • Hands-on experience comparing different AI coding assistants
  • AI can do a great job out the box, helping you figure out a problem, answering your questions, and all. AI is not really super useful in a vacuum. It needs to know a few things:
  • what you expect the AI to do, in general, how it should act for all requests (the rules)
  • what you want the AI to do in this specific moment (the prompt)
  • access to pre-existing knowledge (the context)
02

Introduction to models

AI has been dominating the software development discussions and online debates for quite a while now. Let’s say over the span of 12-18 months, we went from “AI can create fun images” and “AI can reply to my questions” to “AI can replace my job”.

As a developer, I think there’s no better time to jump into AI than now.

It’s not too early that it reveals to be a fad (it won’t, people already use AI for everything at their jobs) and you’re definitely not too late. You’re early.

There’s also no way that not learning AI today will reveal to be a good decision down the road.

Writing code exclusively using AI, or using AI to assist you with coding, is the new world. The new revolution in computer programming.

Many people still think AI gets in the way sometimes, but it’s because they’re not using it right, and they hit the first roadblocks and they quickly judge AI as “unhelpful”, but it’s not.

They’re going to be left behind, while you’ll thrive as an AI-first dev.

There’s lots of ways to use AI:

  • using AI to kickstart a project from scratch
  • using AI to work on an existing project
  • using AI to help with ancillary tasks like adding tests and documentation
  • using AI to fix bugs
  • using AI to refactor a project
  • using AI to bump dependencies on an old project

…those are just some ideas.

We’ll explore in depth how to use AI to help you as a developer in every aspect of your job. Today is the first day, and we talk about models, and why we’ll choose the model we’ll choose.

03

What an AI model is

When you type in ChatGPT or any other AI tool, you get suggestions and replies from the tool.

Under the hood, the tool uses an AI model (or LLM - Large Language Model) to elaborate its response.

A model is something incredibly complex, trained on a huge amount of data.

The model is programmed in such a way that it can understand patterns, and make predictions.

In the case of software development, the model was trained on billions upon billions of lines of code, it basically knows everything about coding, way more than you (or any human) could possibly learn in a lifetime.

Models are already powerful, and more powerful models are being trained right now, trained on more and more data that was previously human-generated:

  • billions of lines of code publicly available, for example on GitHub or other open source code repositories
  • books, documentation, videos, podcasts
  • questions and answers sites like Stack Overflow
  • forums and other discussion platforms, mailing lists, chat rooms

How the models actually work is out of scope. It’s more a realm of machine learning, neural networks, parameters, weights, biases, learned knowledge, and other PhD level things I won’t even start to understand. I’m not that smart. I’m focusing on using those models, not creating them.

How a model can make predictions/decisions, the “things” you see it suggests?

In a nutshell, it examines your input (what you ask it to do) and the current context (the code you provide it).

Based on what it learned in the past during its training phase (learning through billions and billions of lines of code and training material), it determines the most probable and contextually relevant answer, next piece of code, or multiple changes across multiple files to add a feature, or fix a bug.

It all depends on what you ask it, and what tool you’re using to interact with the model.

Topics unlocked when you join
What is an agent

These days all we talk about are **AI agents**.

An overview of the available models

Every day there’s a new model showing up. We’re in the golden age of models. Loads and loads of money are thrown at people and equipment to create more and more powerful models.

Choosing a model

Now that we have a “list”, let’s understand the practical differences between those models.

How to decide which model to use

Ultimately the answer is something you need to figure out. Use them, find out which one is giving you the best value.

Latest frontier AI models comparison

> **👉 “Frontier AI Model”**: one of the most advanced, cutting-edge AI systems available — a large, general-purpose model whose capabilities push beyond the previous state of the art across many tasks.

The context window

An important aspect of AI models that we haven't discussed yet is the concept of a "context window." This determines how much information the model can "see" and process at once.

Member preview

Read the first three sections, then join to unlock the rest.

01

Introduction to Claude Code

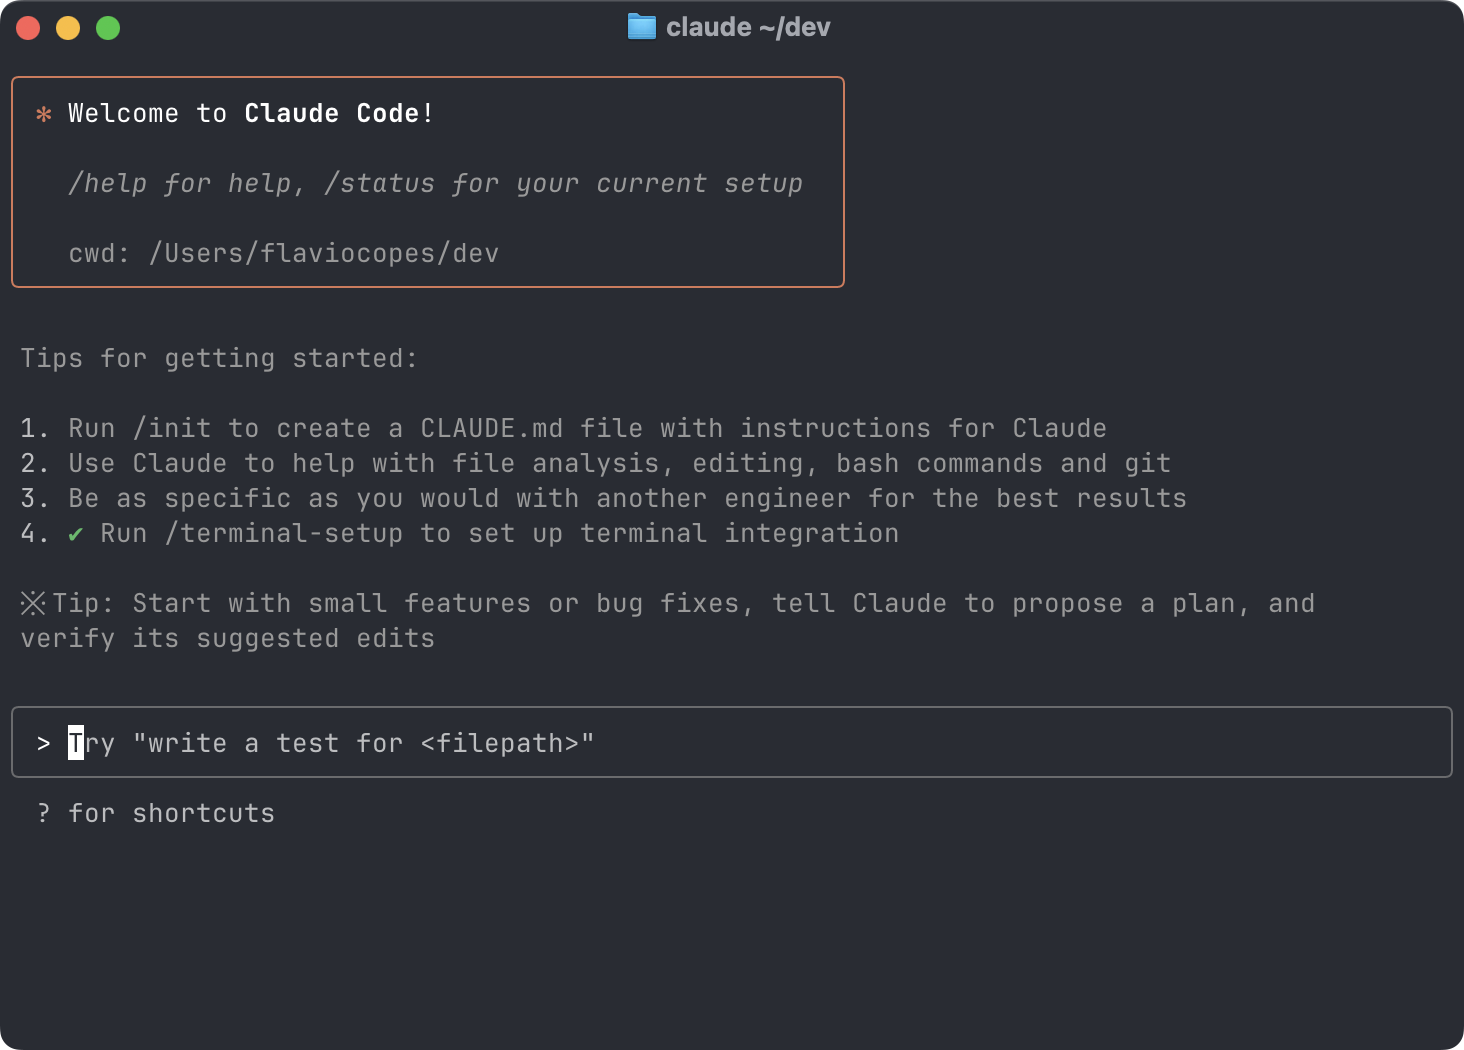
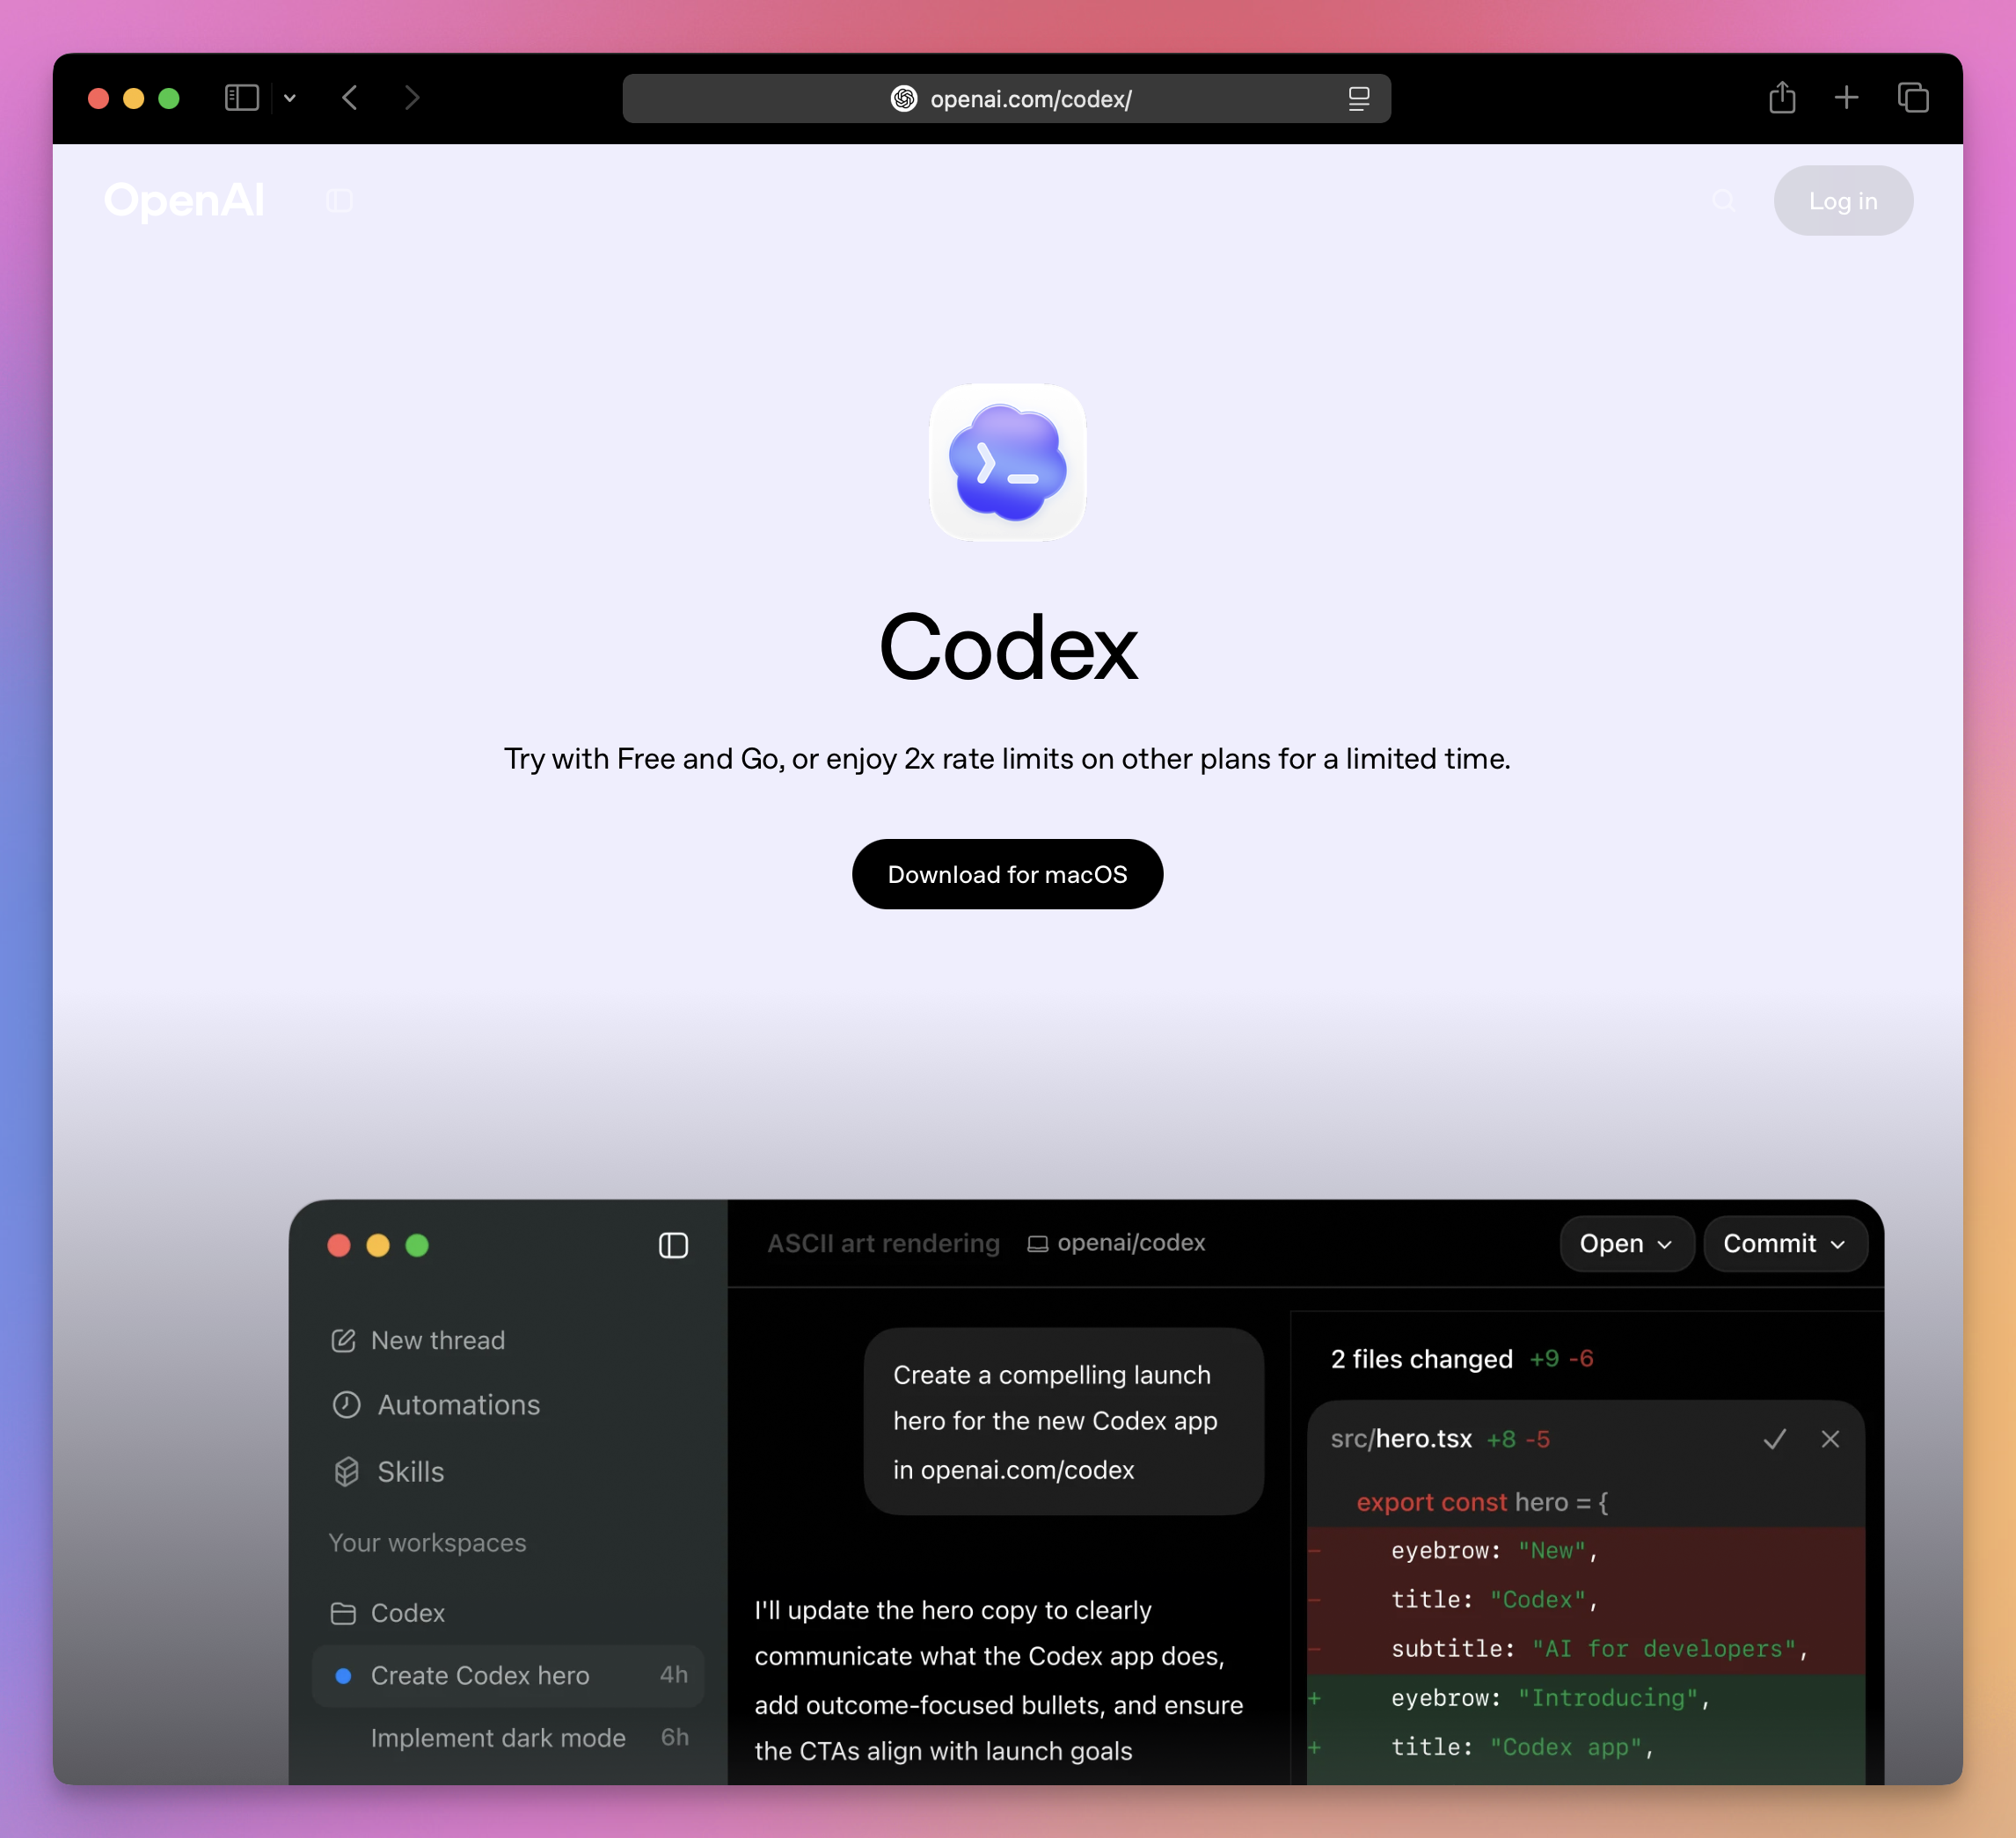
Claude Code is a tool for agentic coding, similar to Codex by OpenAI.

It’s built by Anthropic, the company who makes the Claude models, Sonnet and Opus, two of the most popular models for coding tasks.

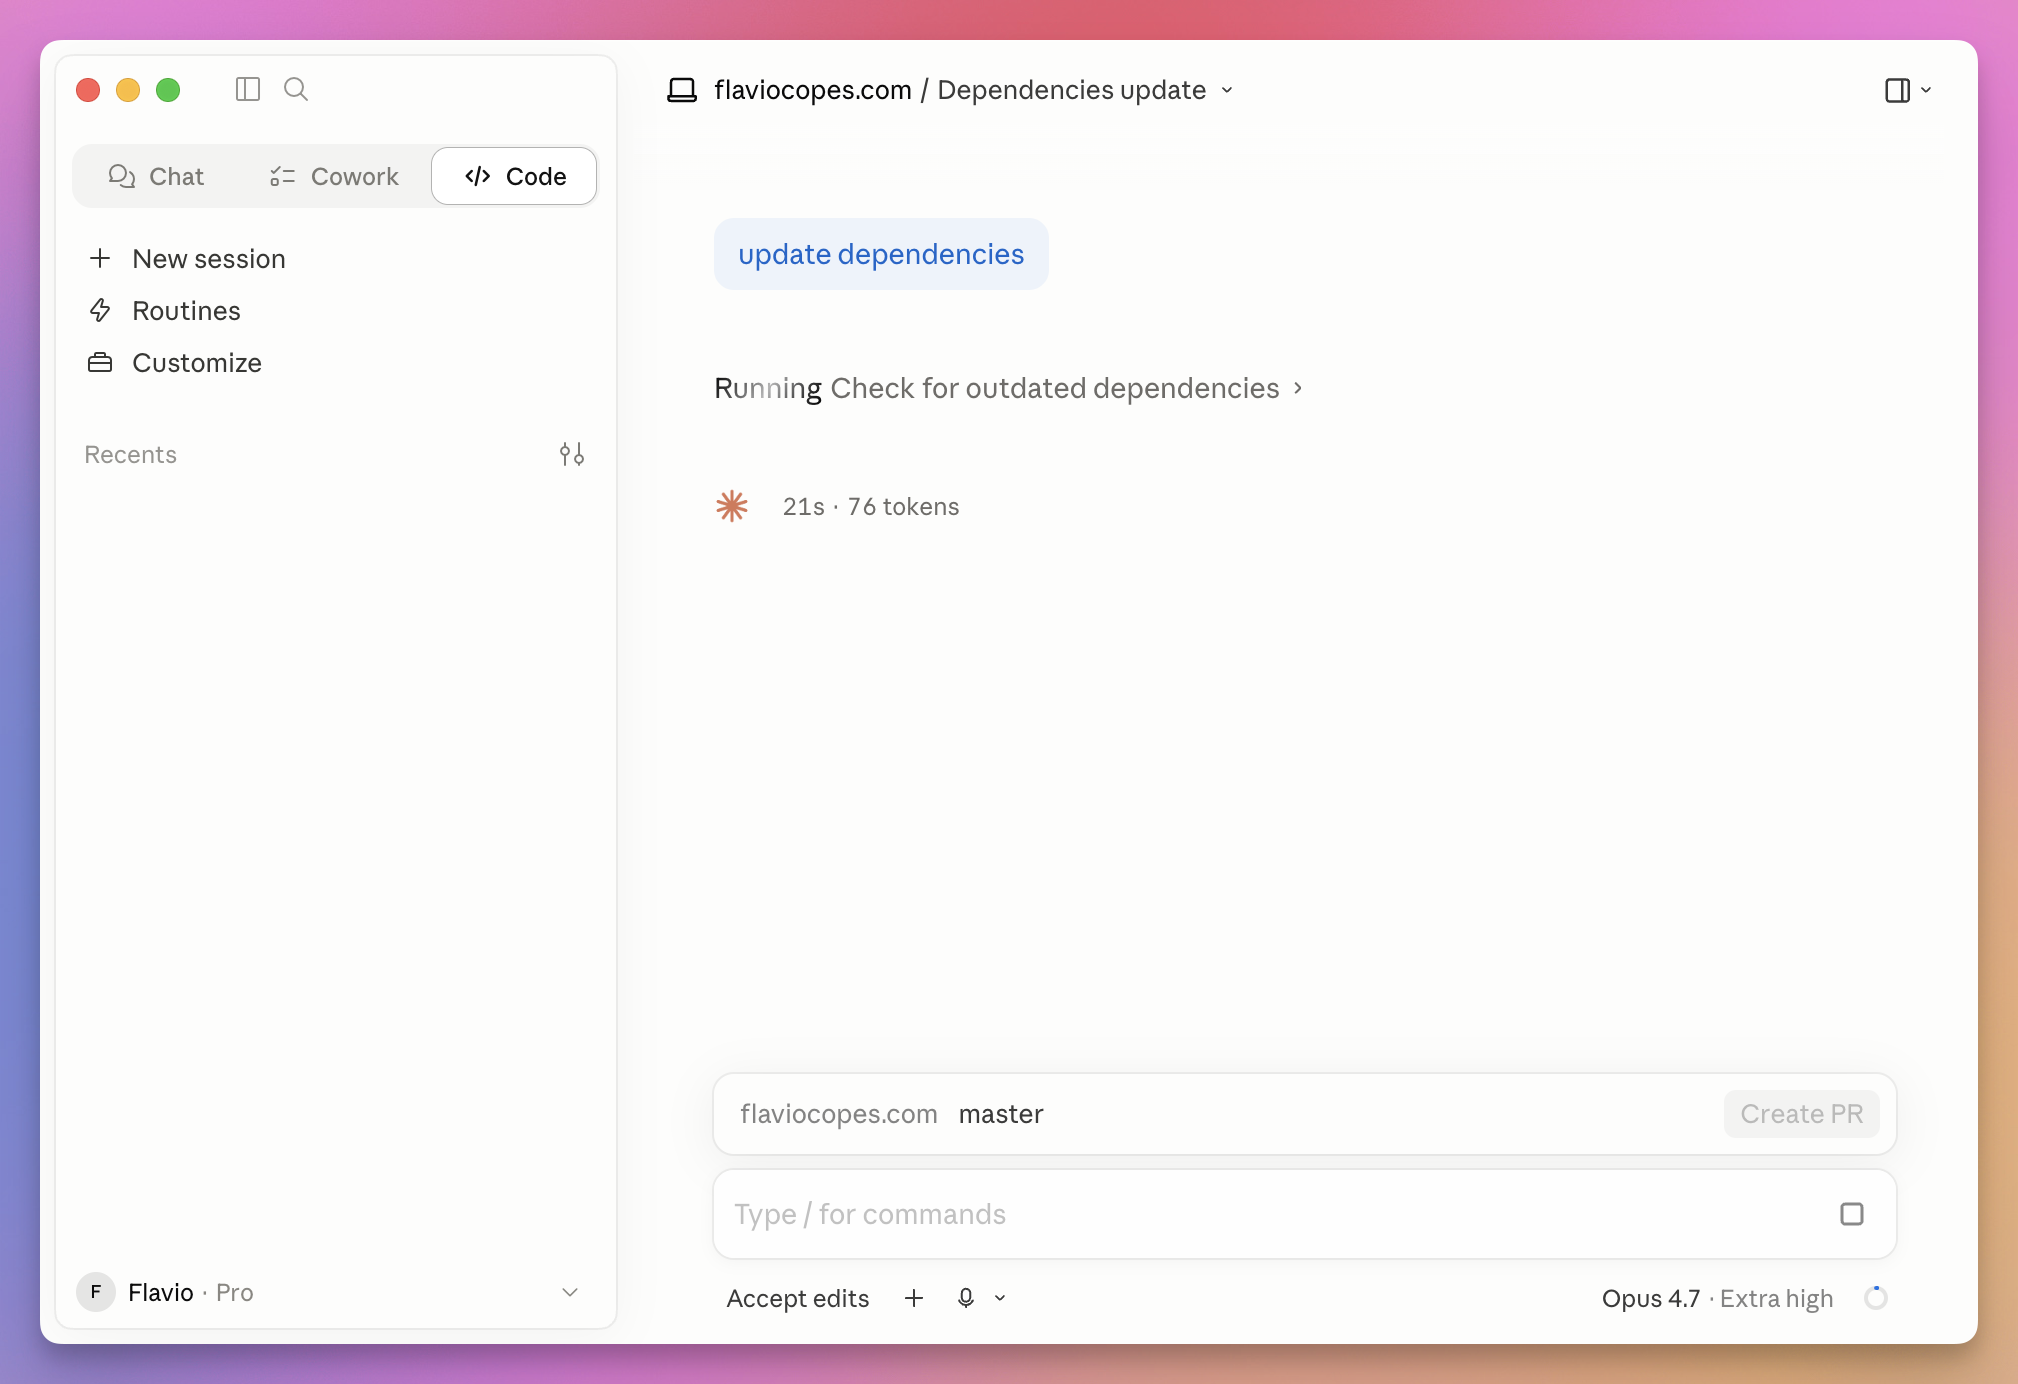
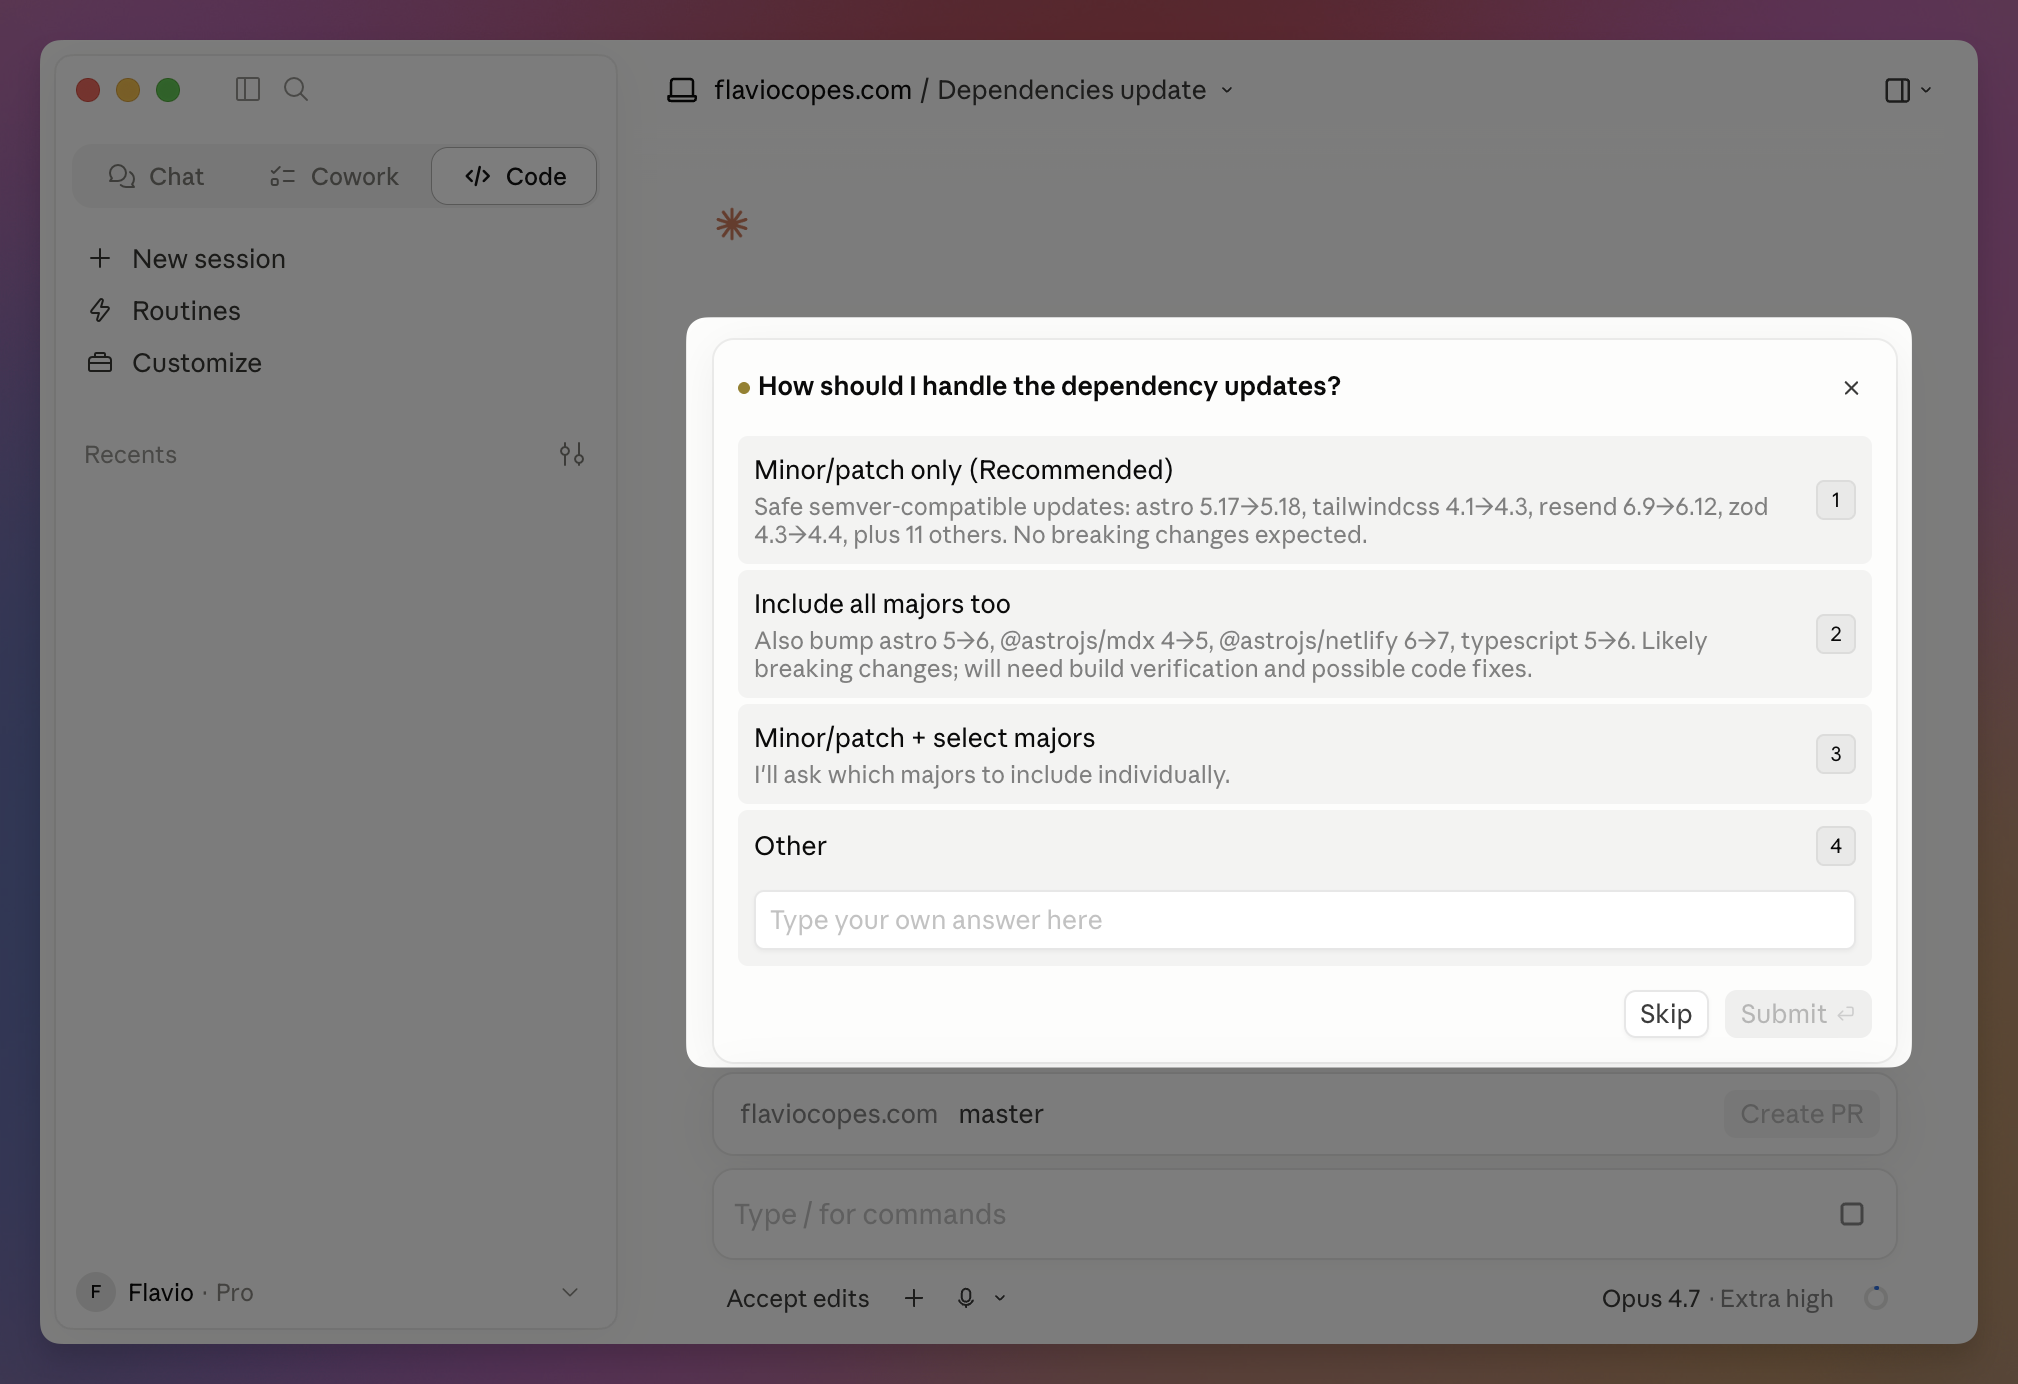
Agentic coding refers to the capability of AI systems like Claude Code to independently handle complex, multi-step coding tasks.

It's a form of AI-assisted development where the AI acts as an agent that can understand requirements, plan implementation steps, write code, debug issues, and iterate based on feedback, all with minimal human intervention.

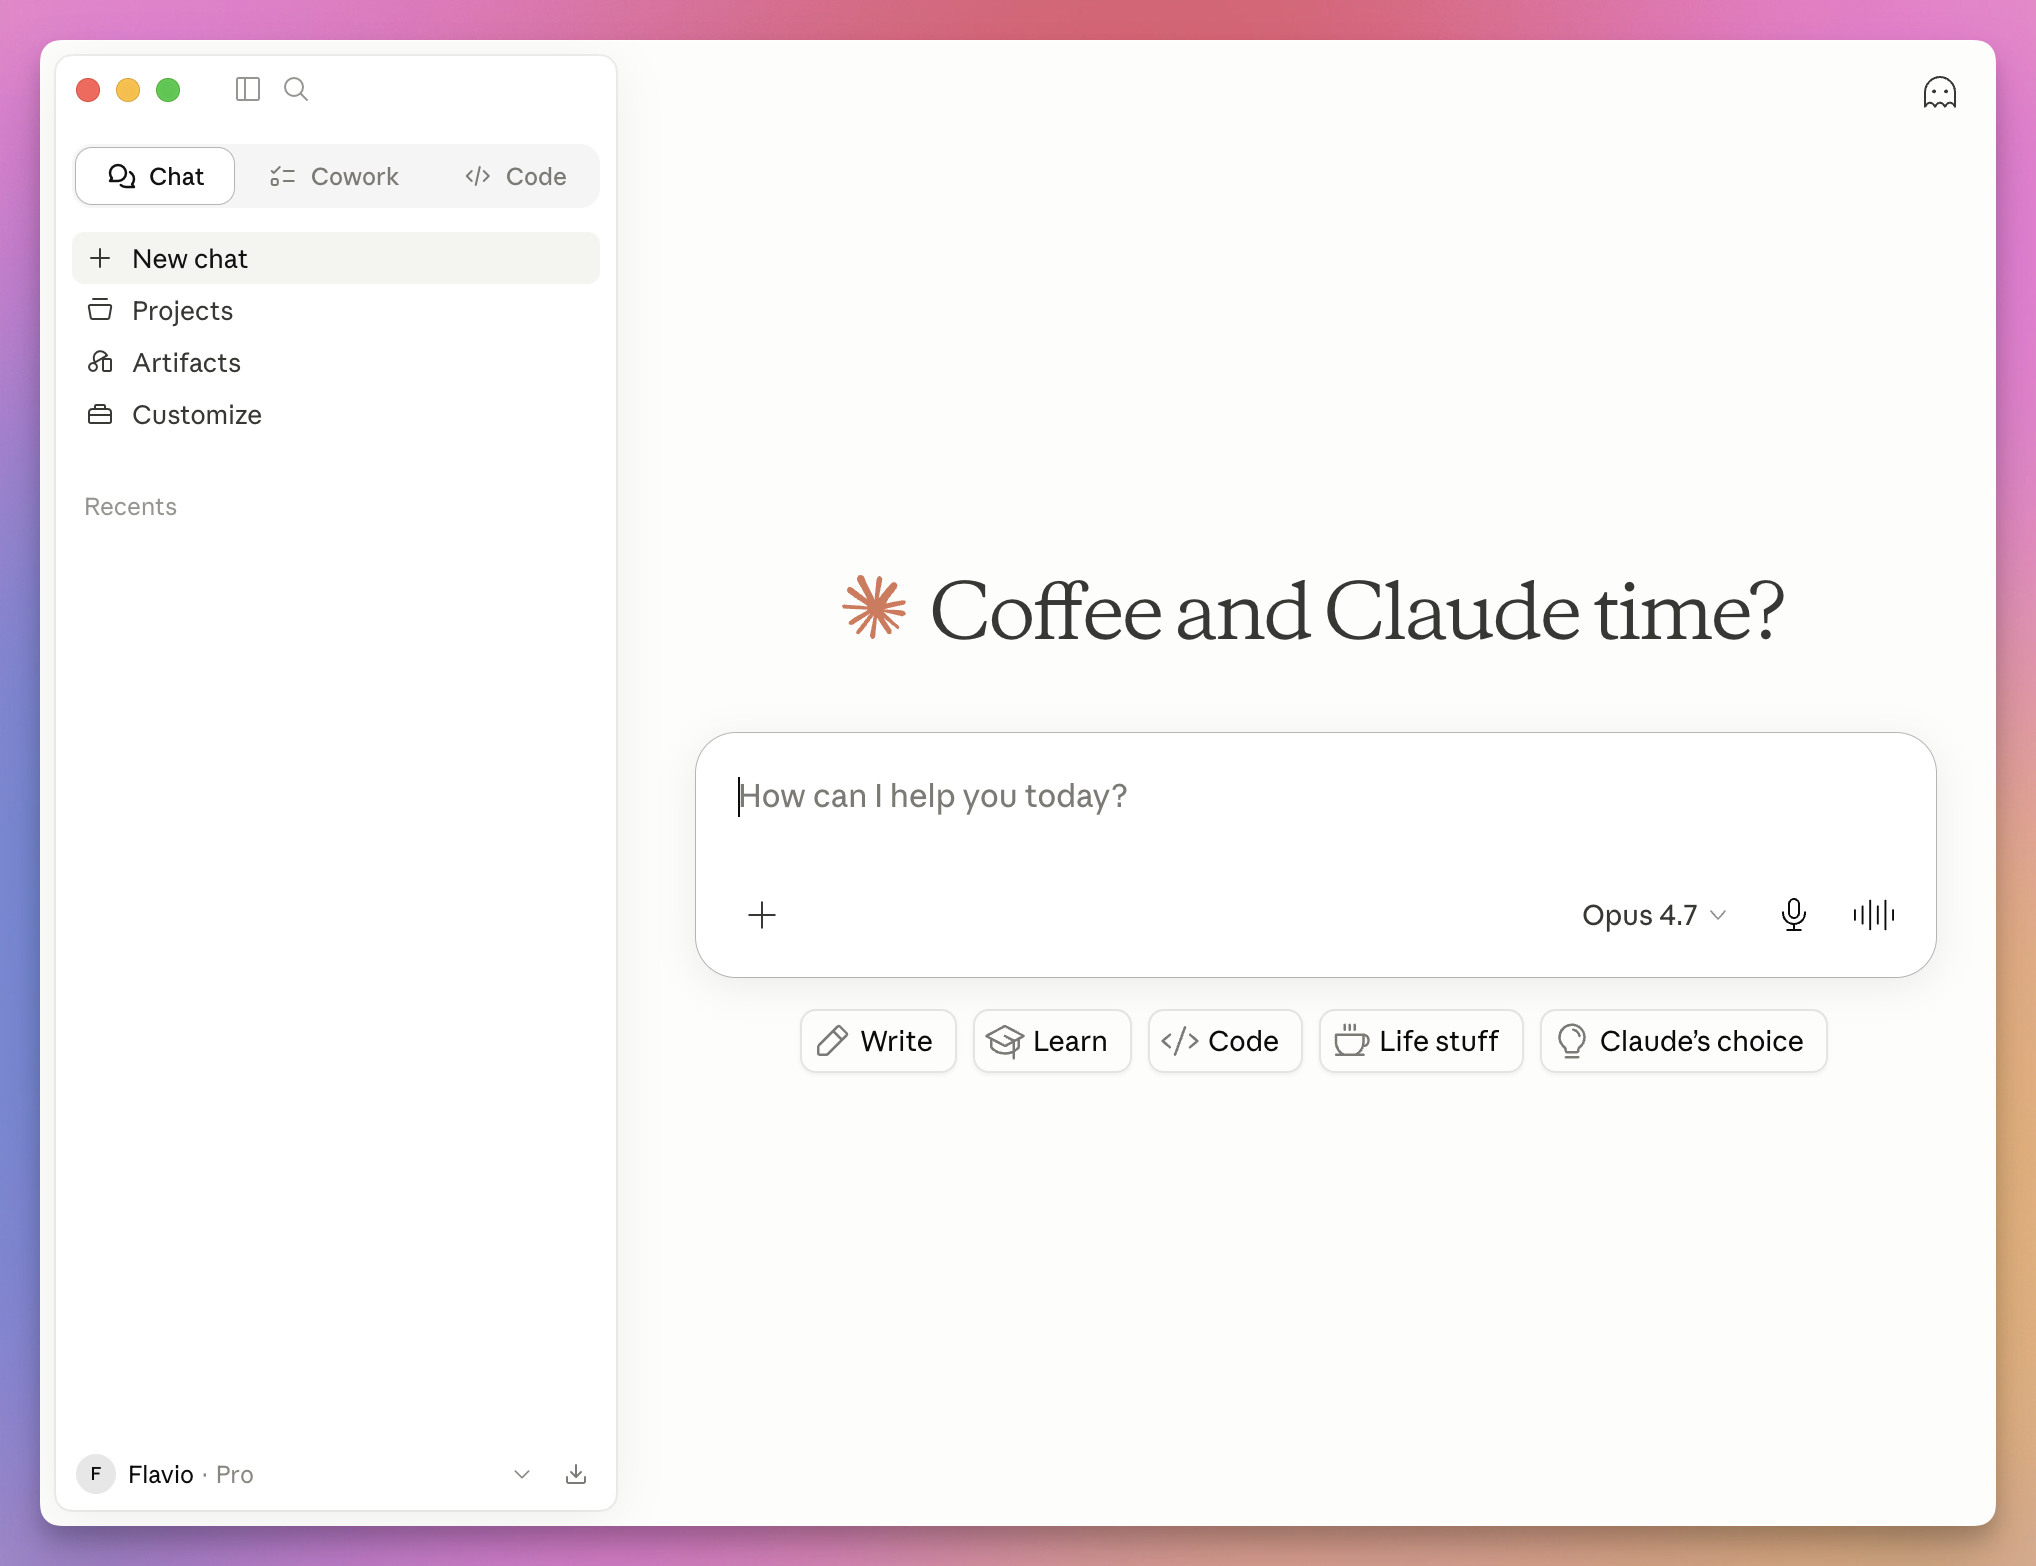
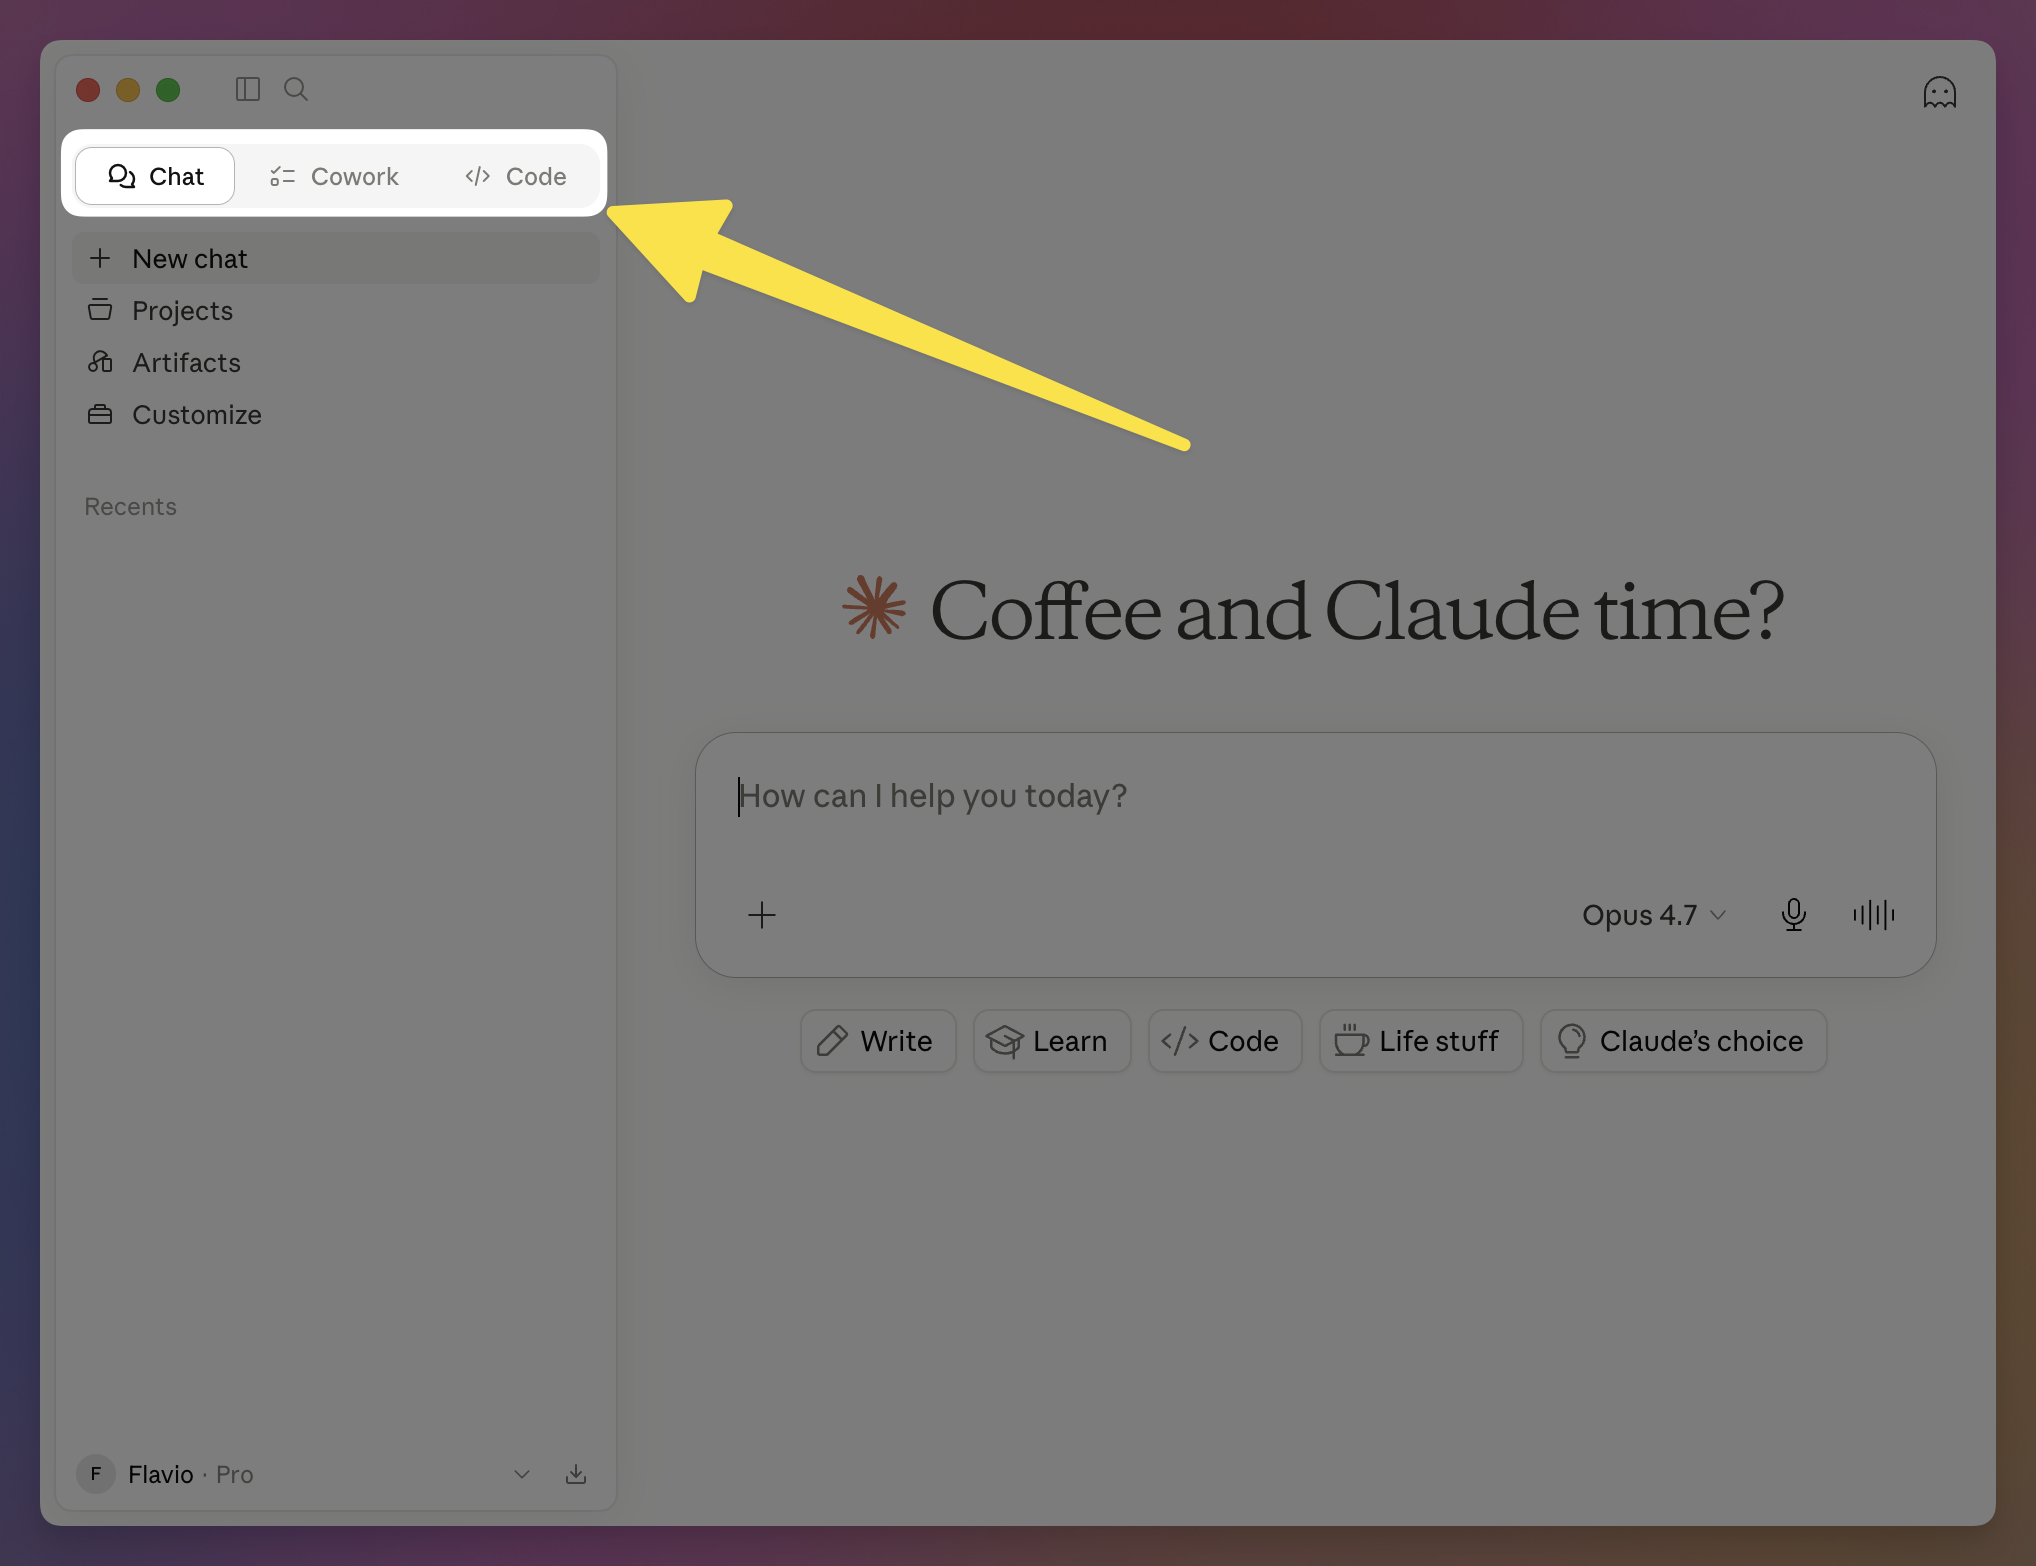
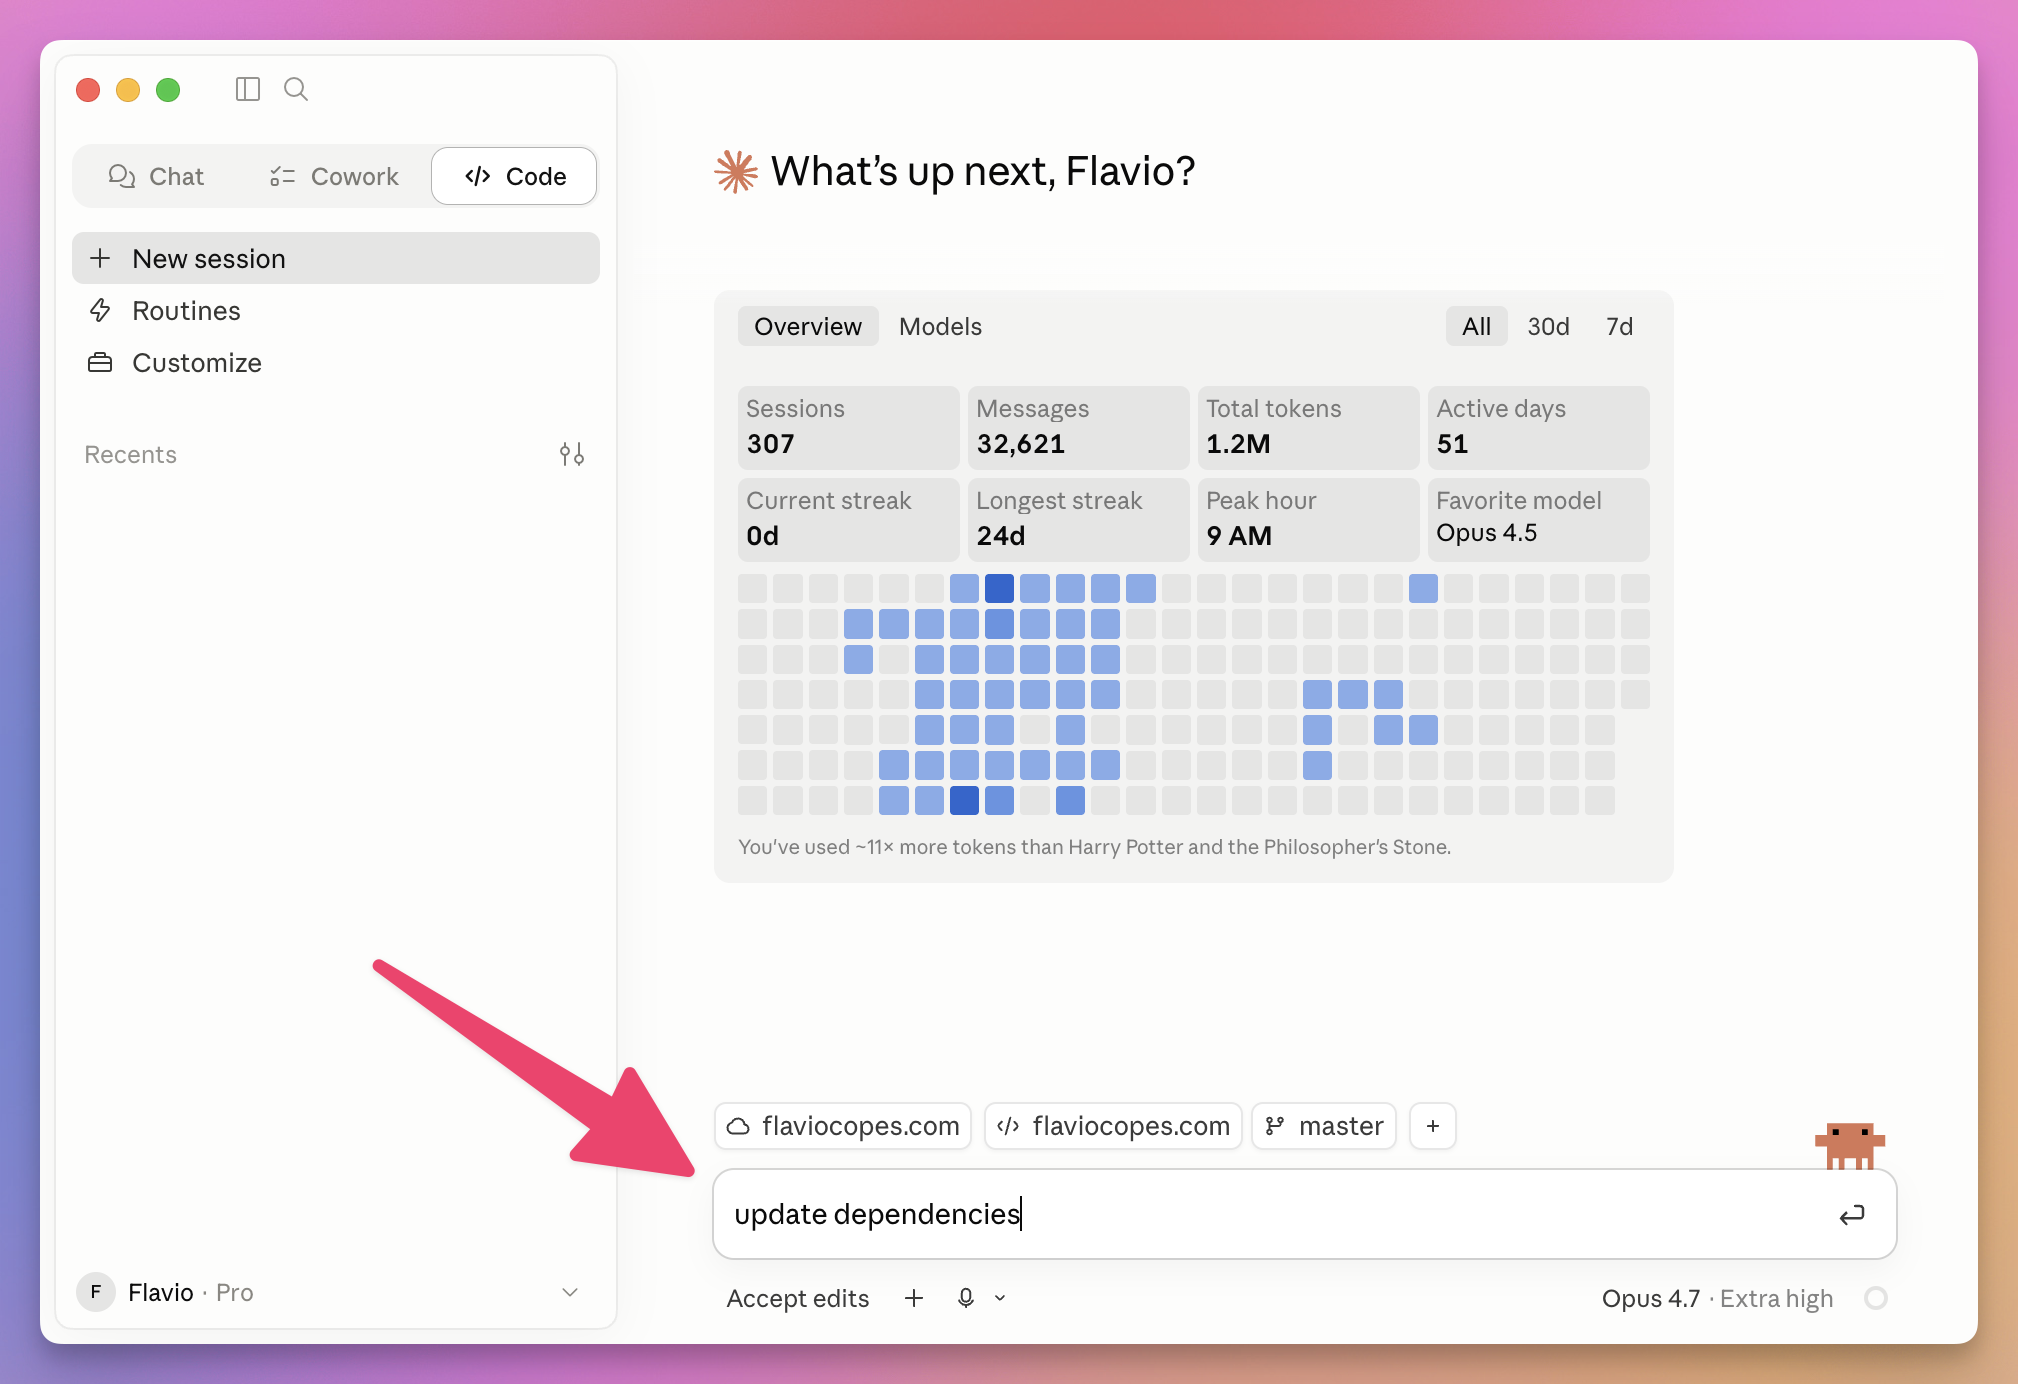
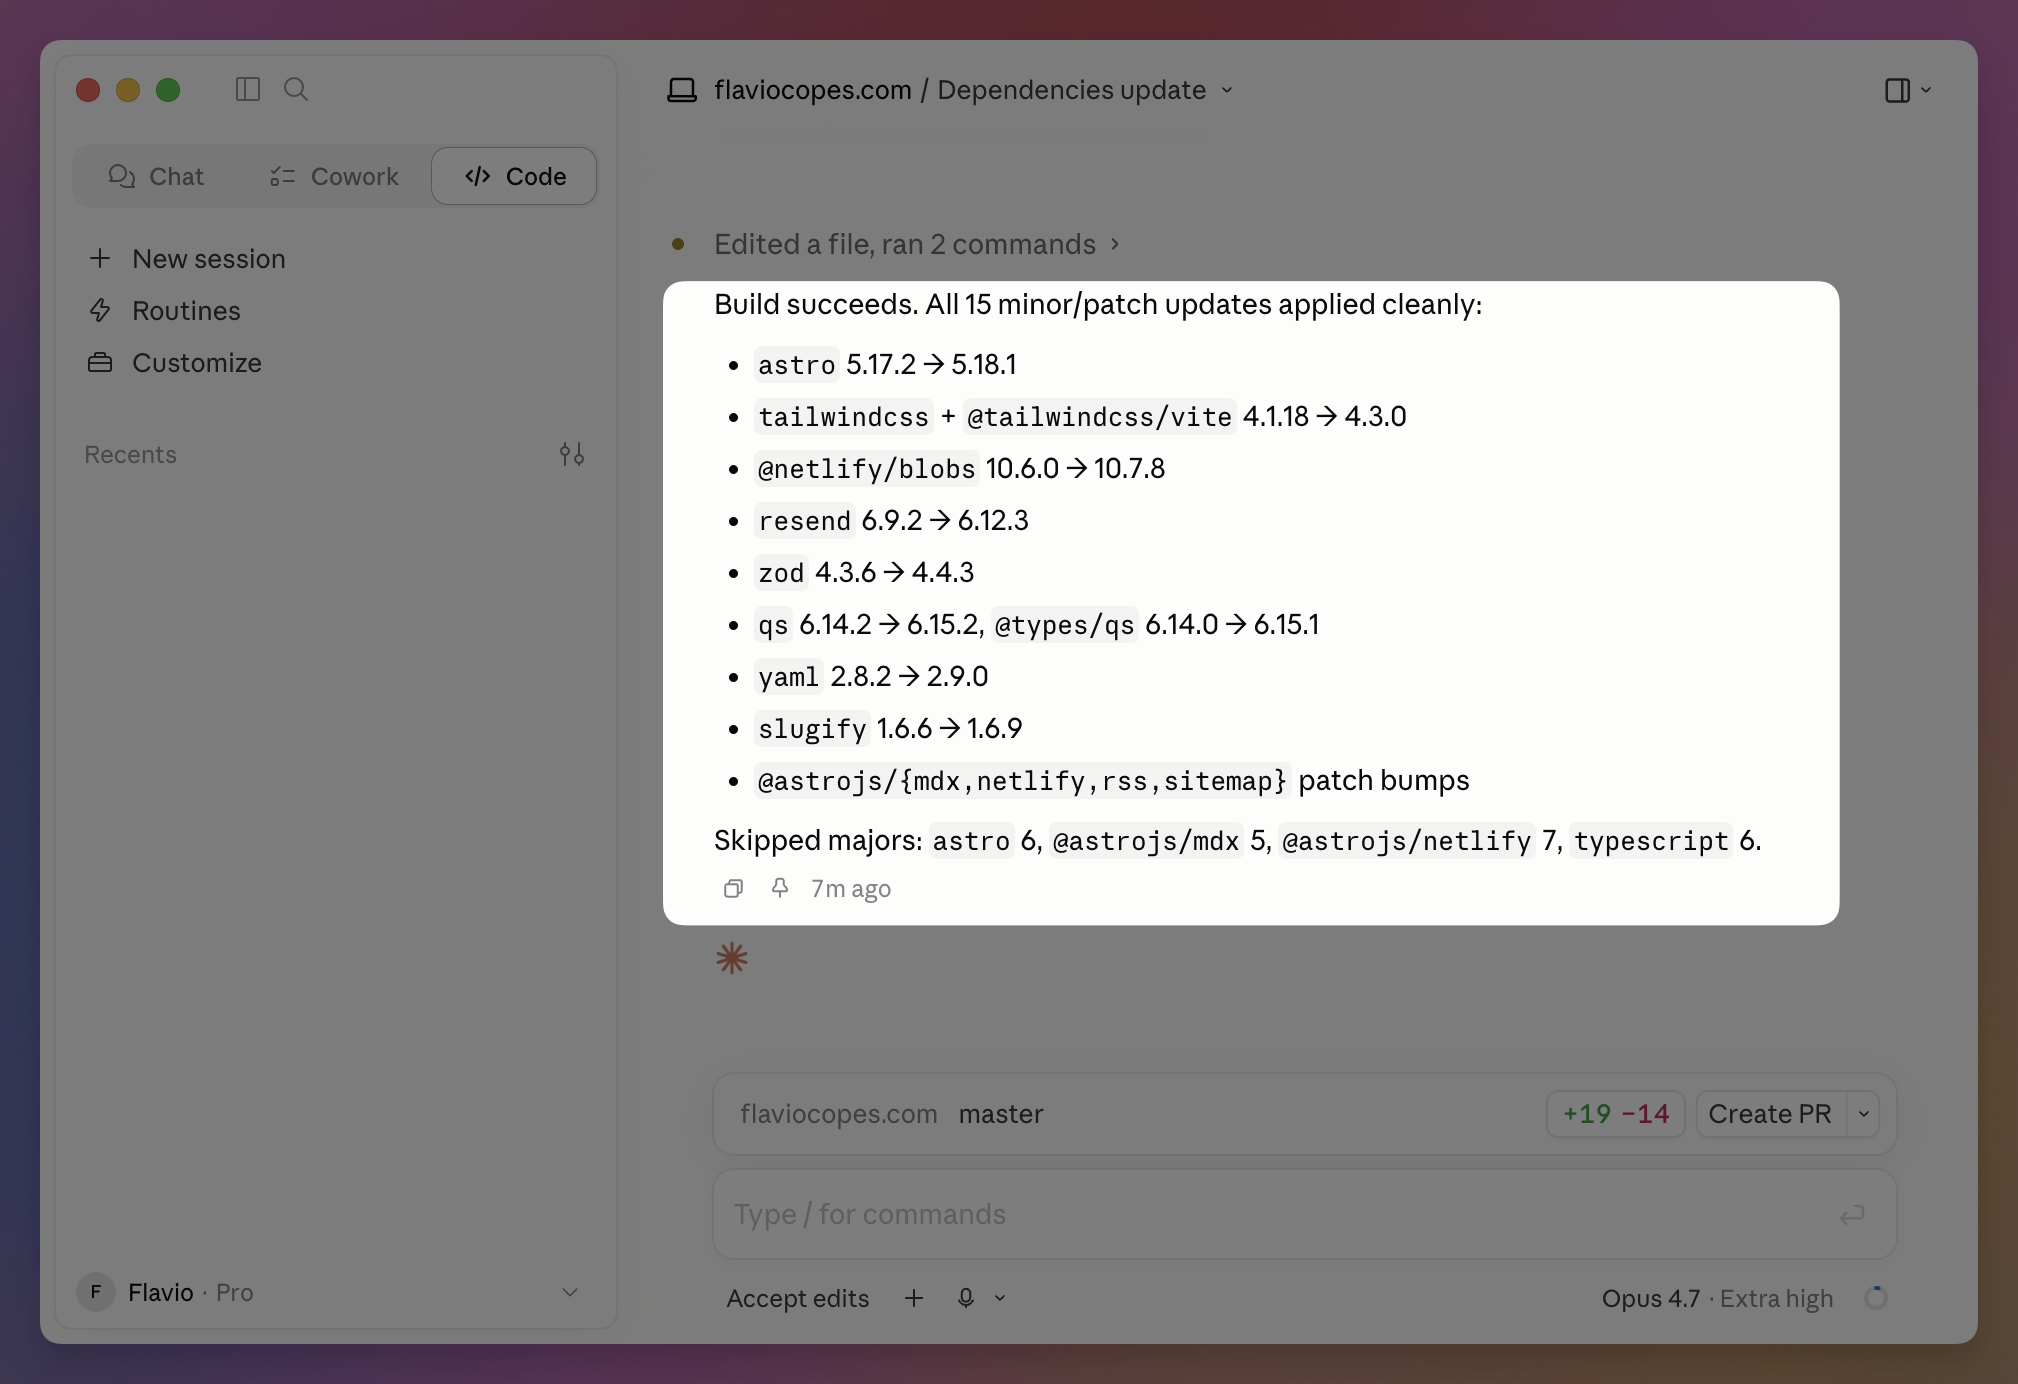
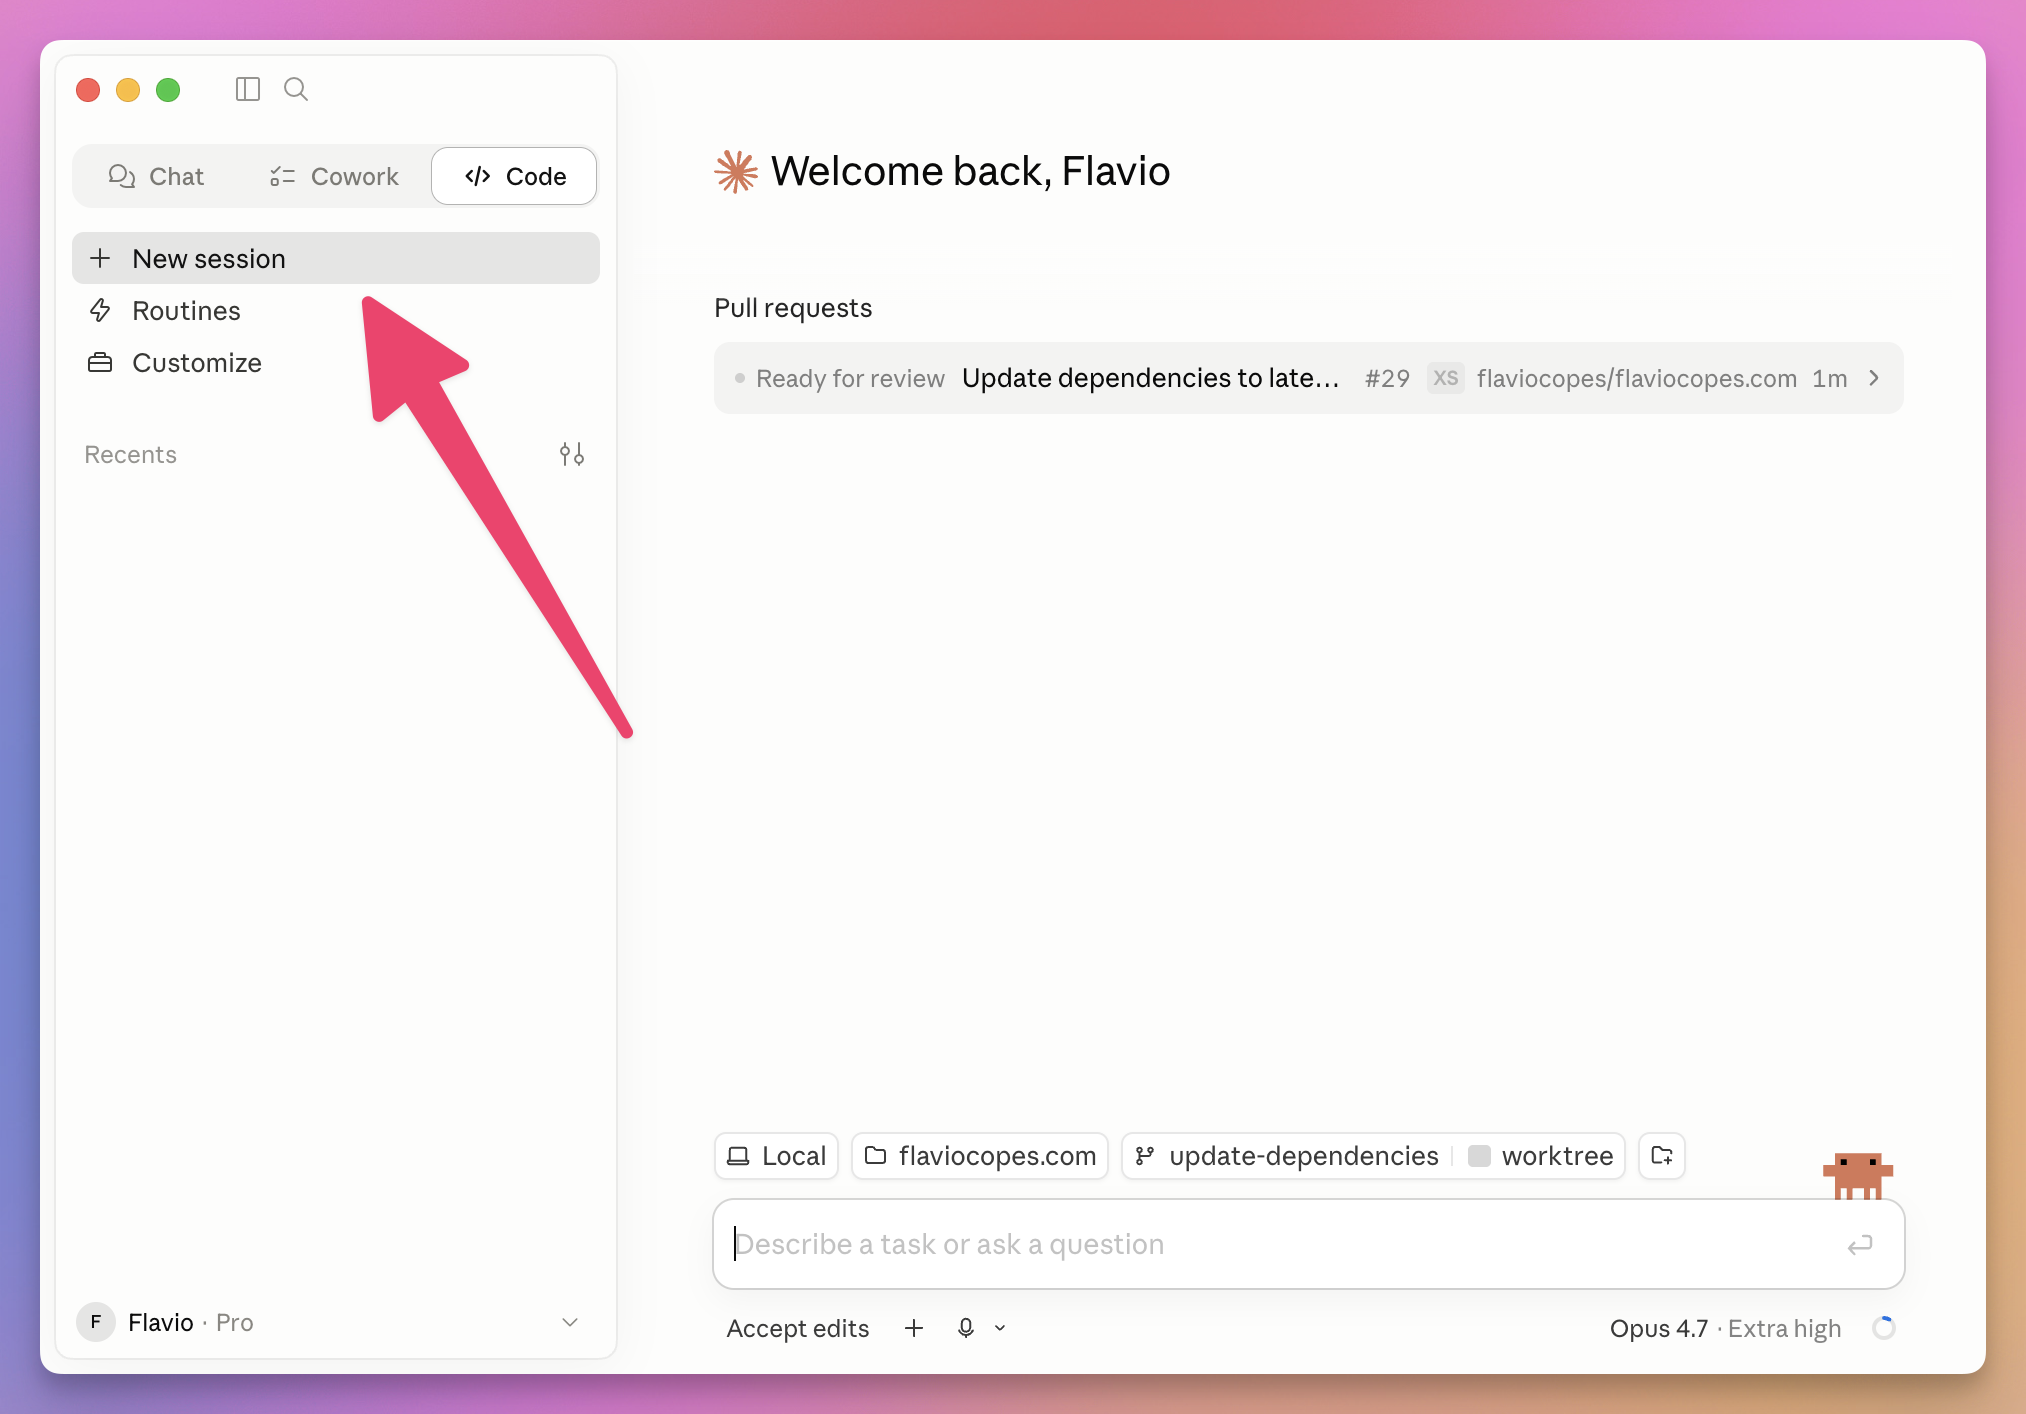
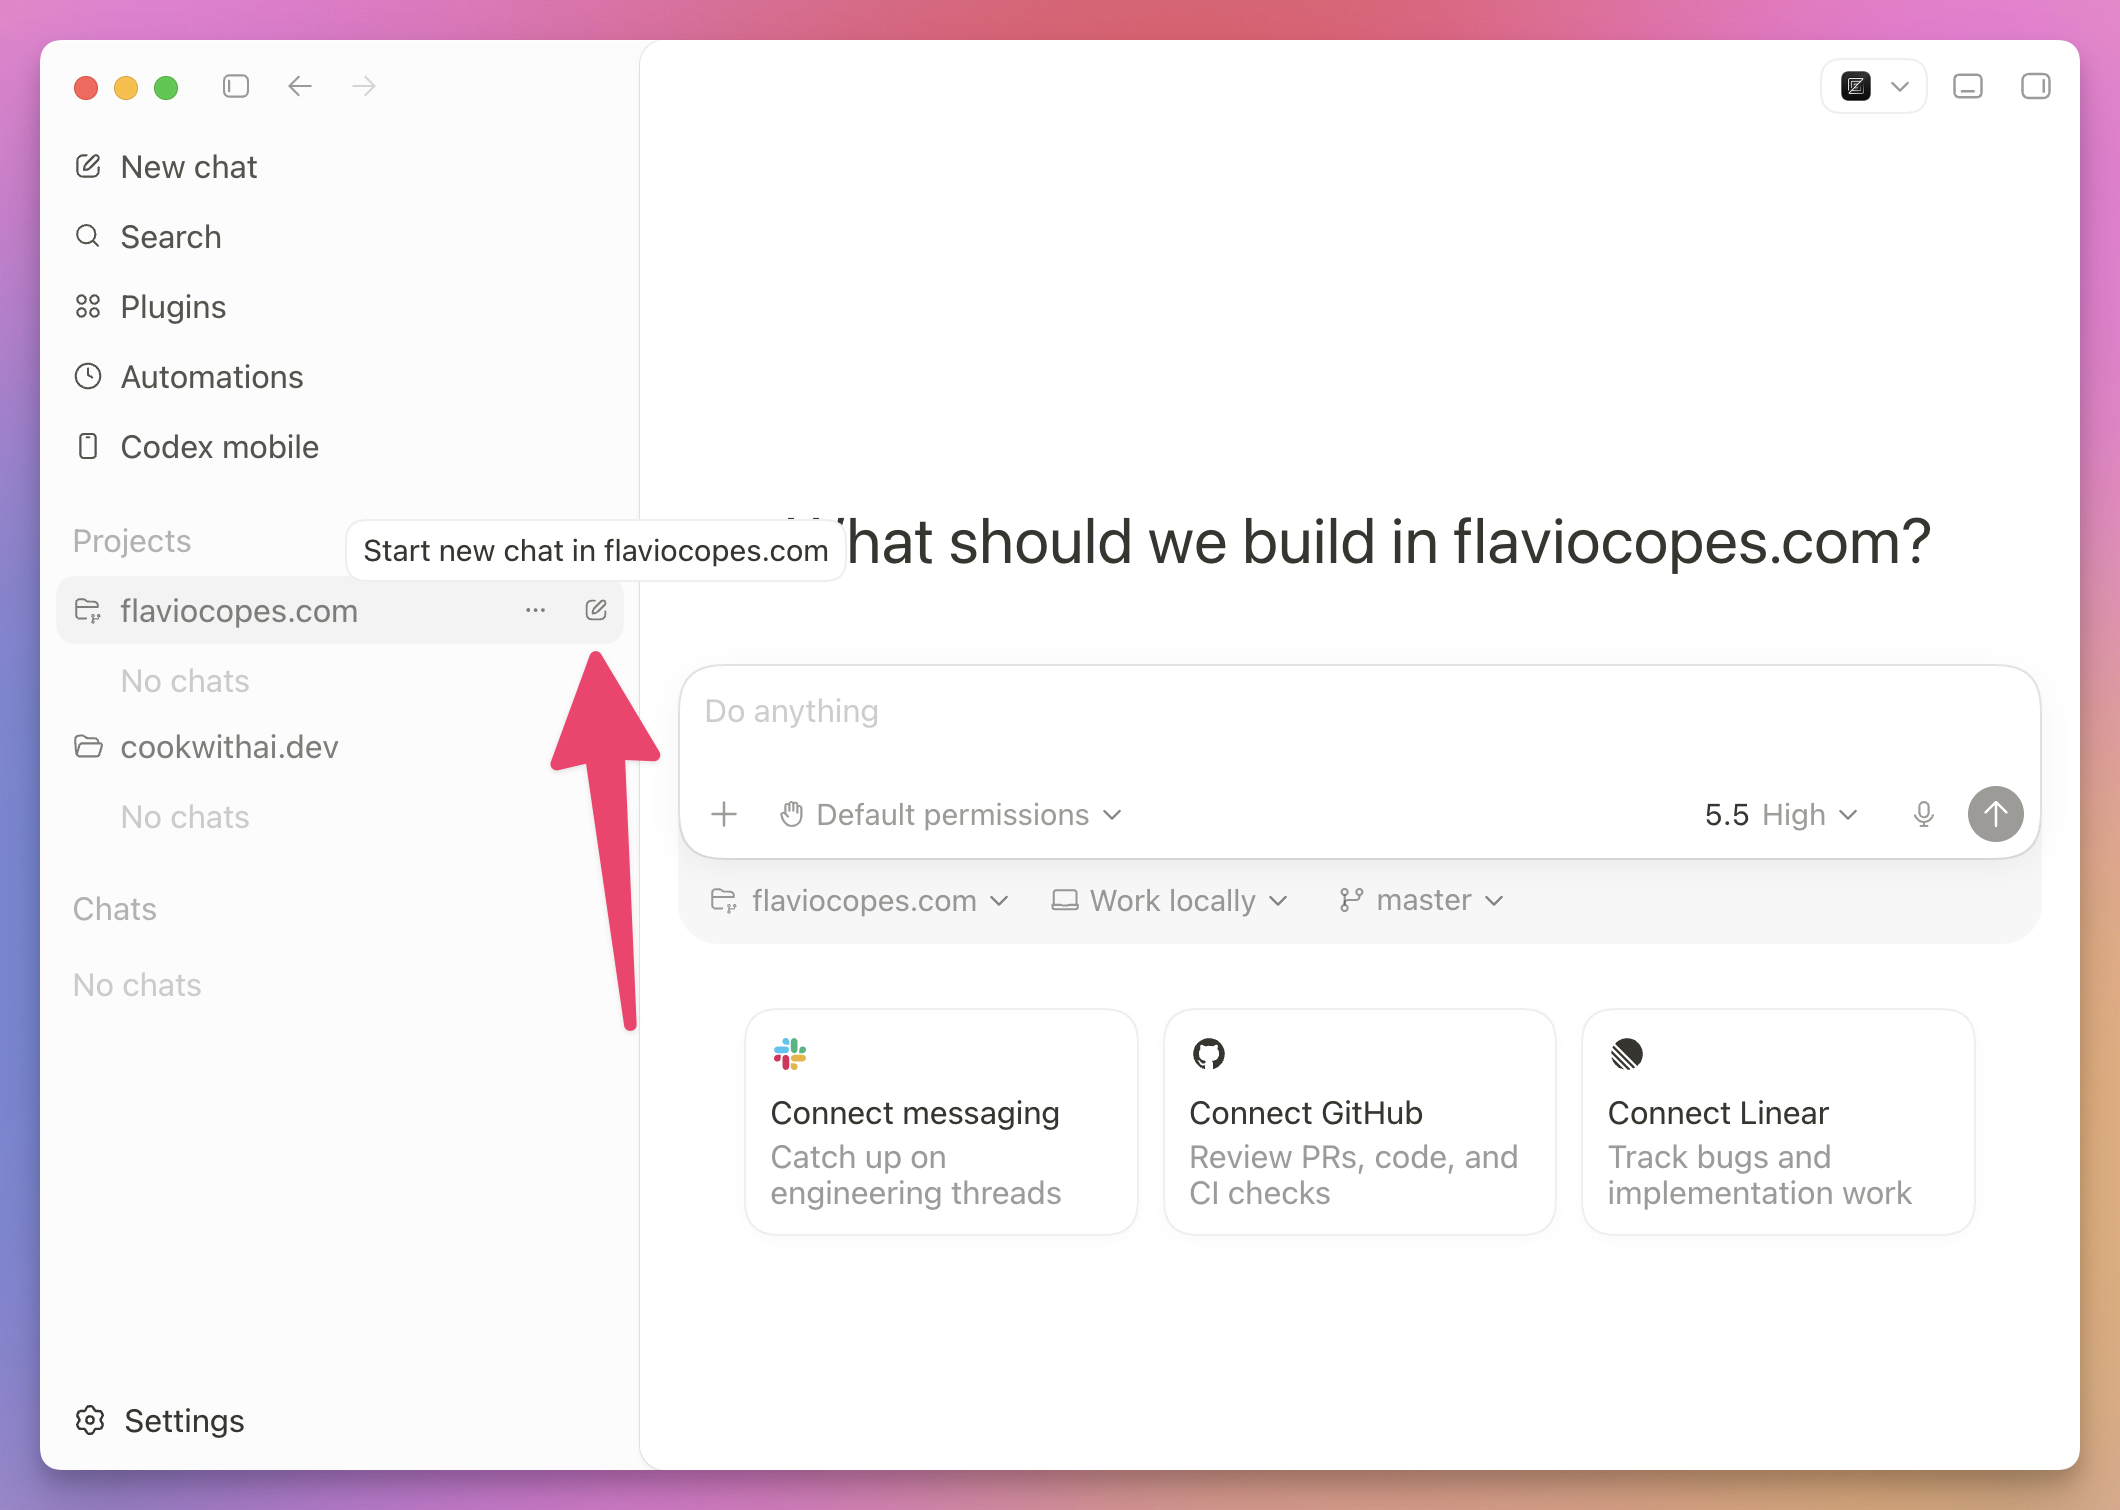
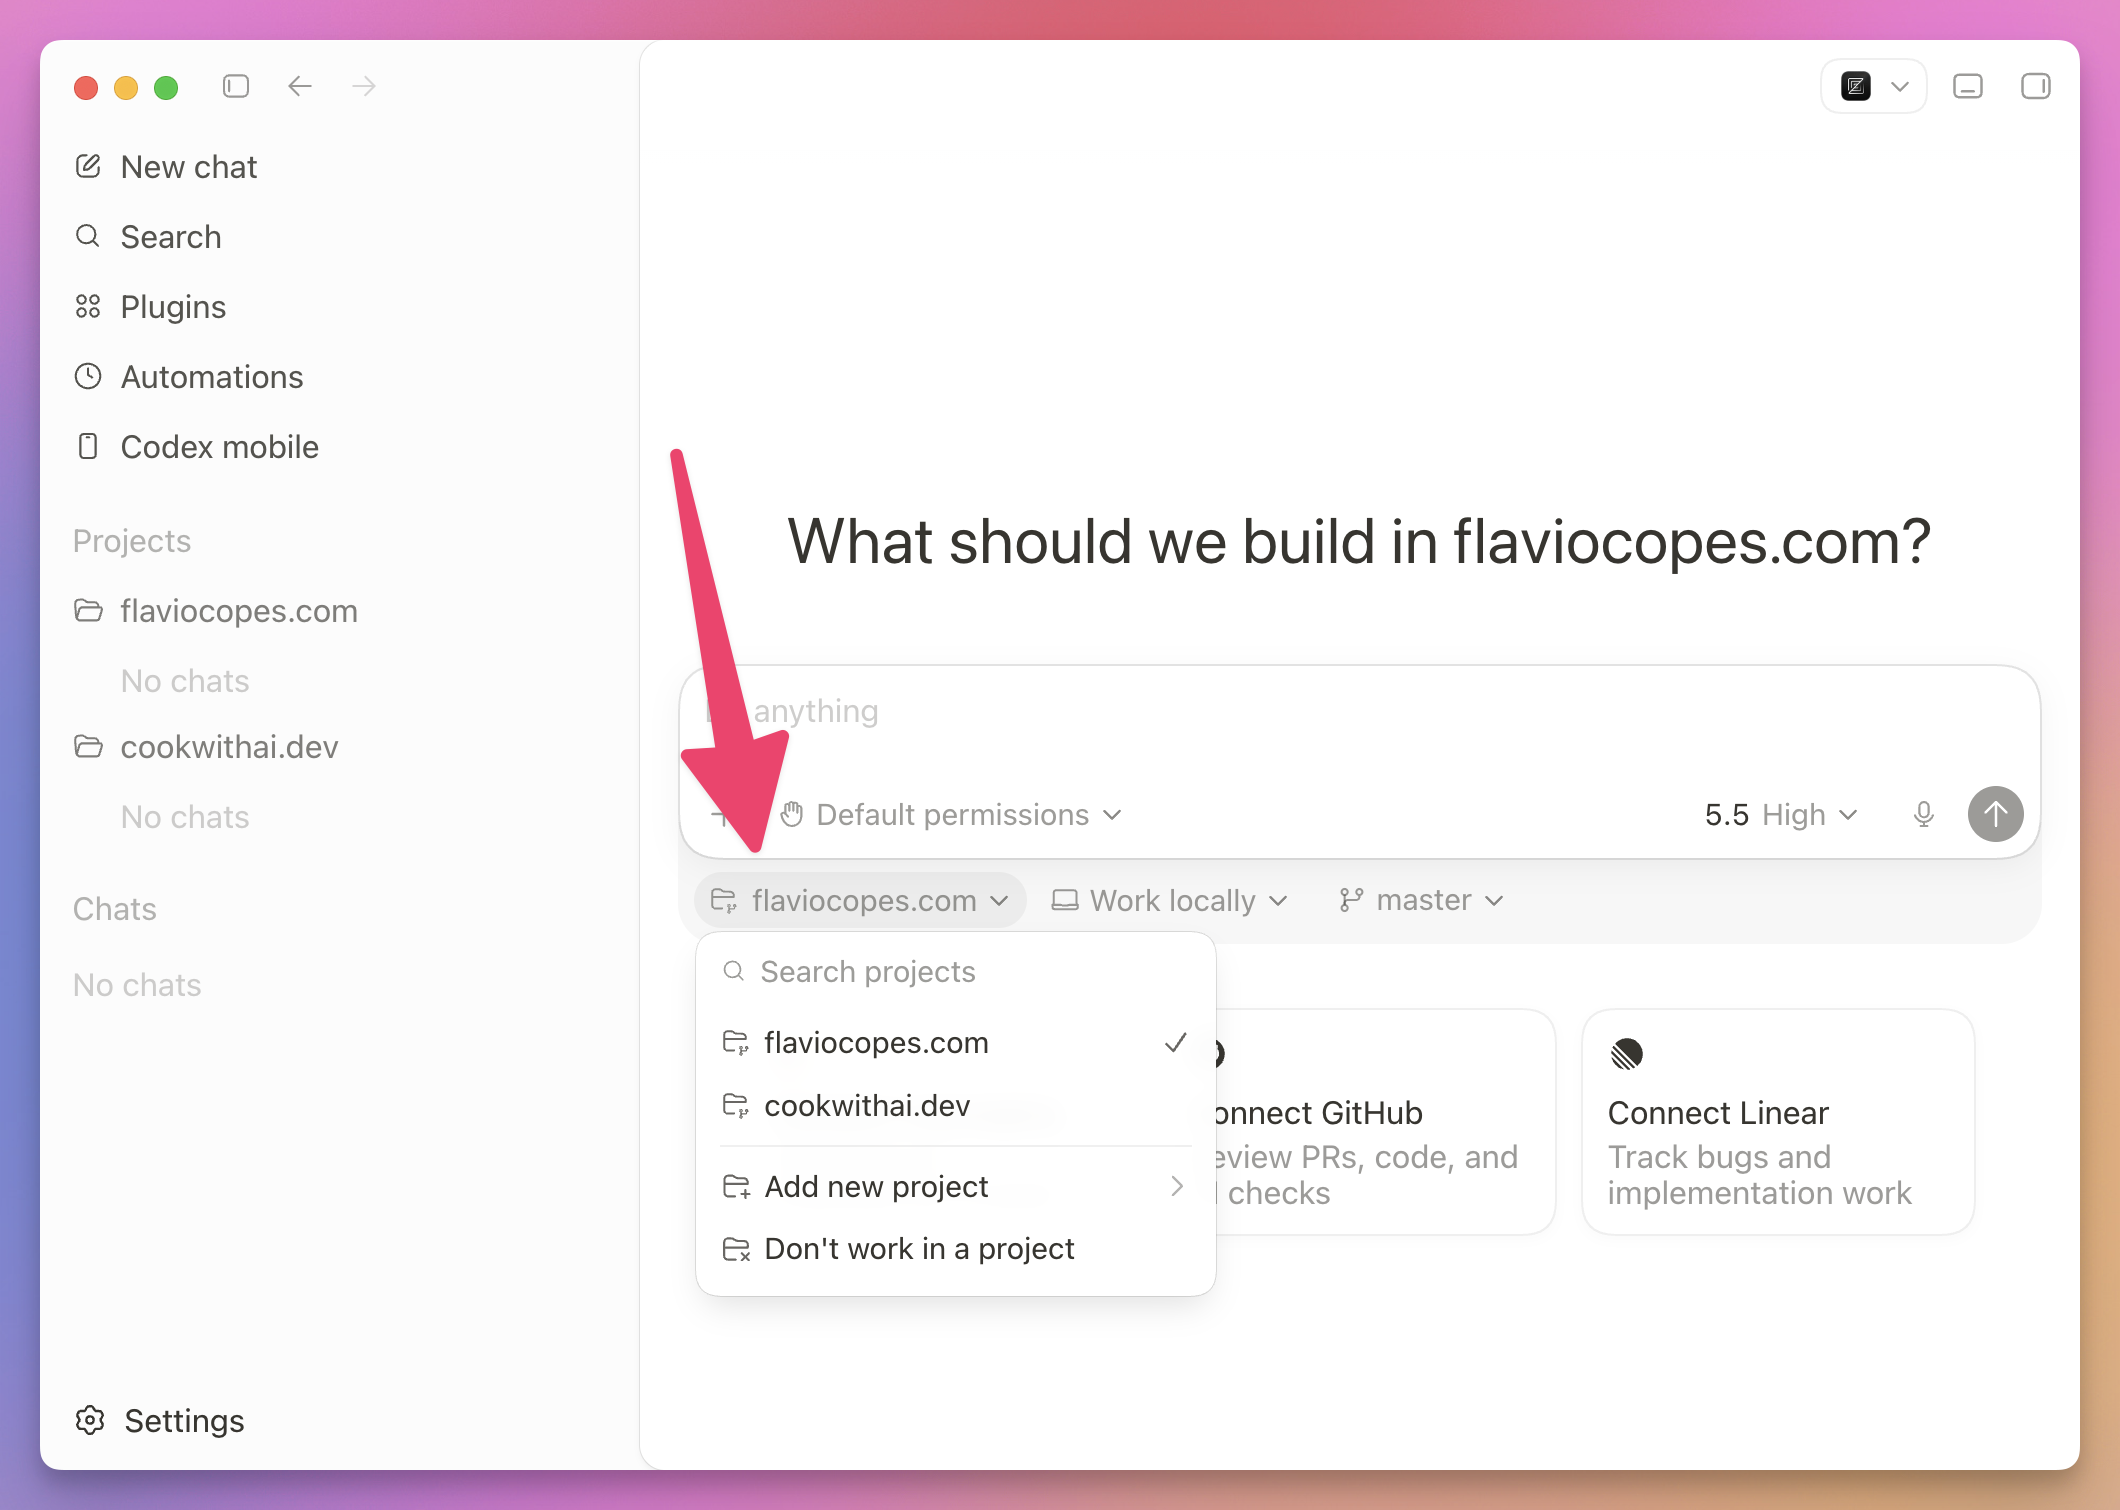
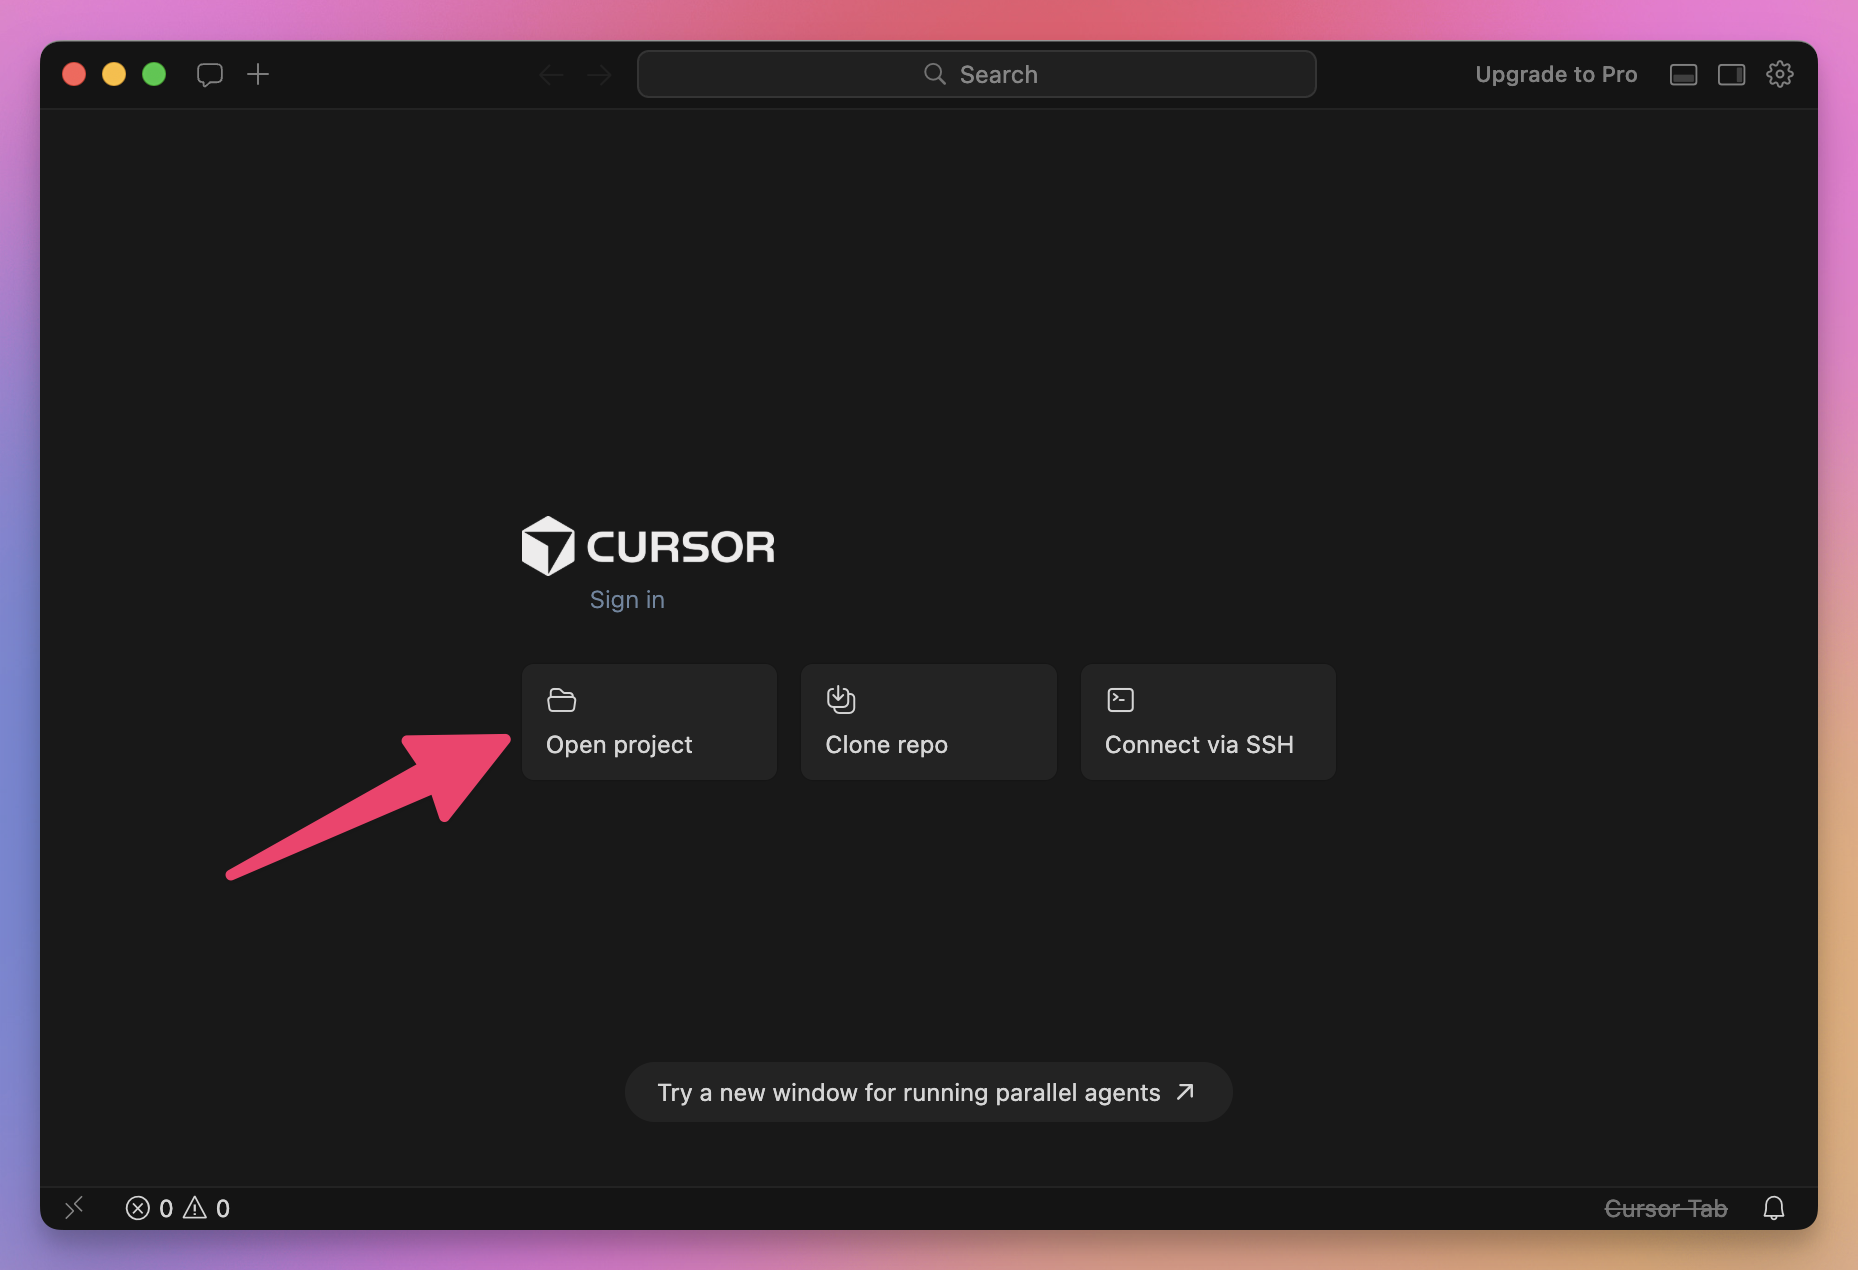
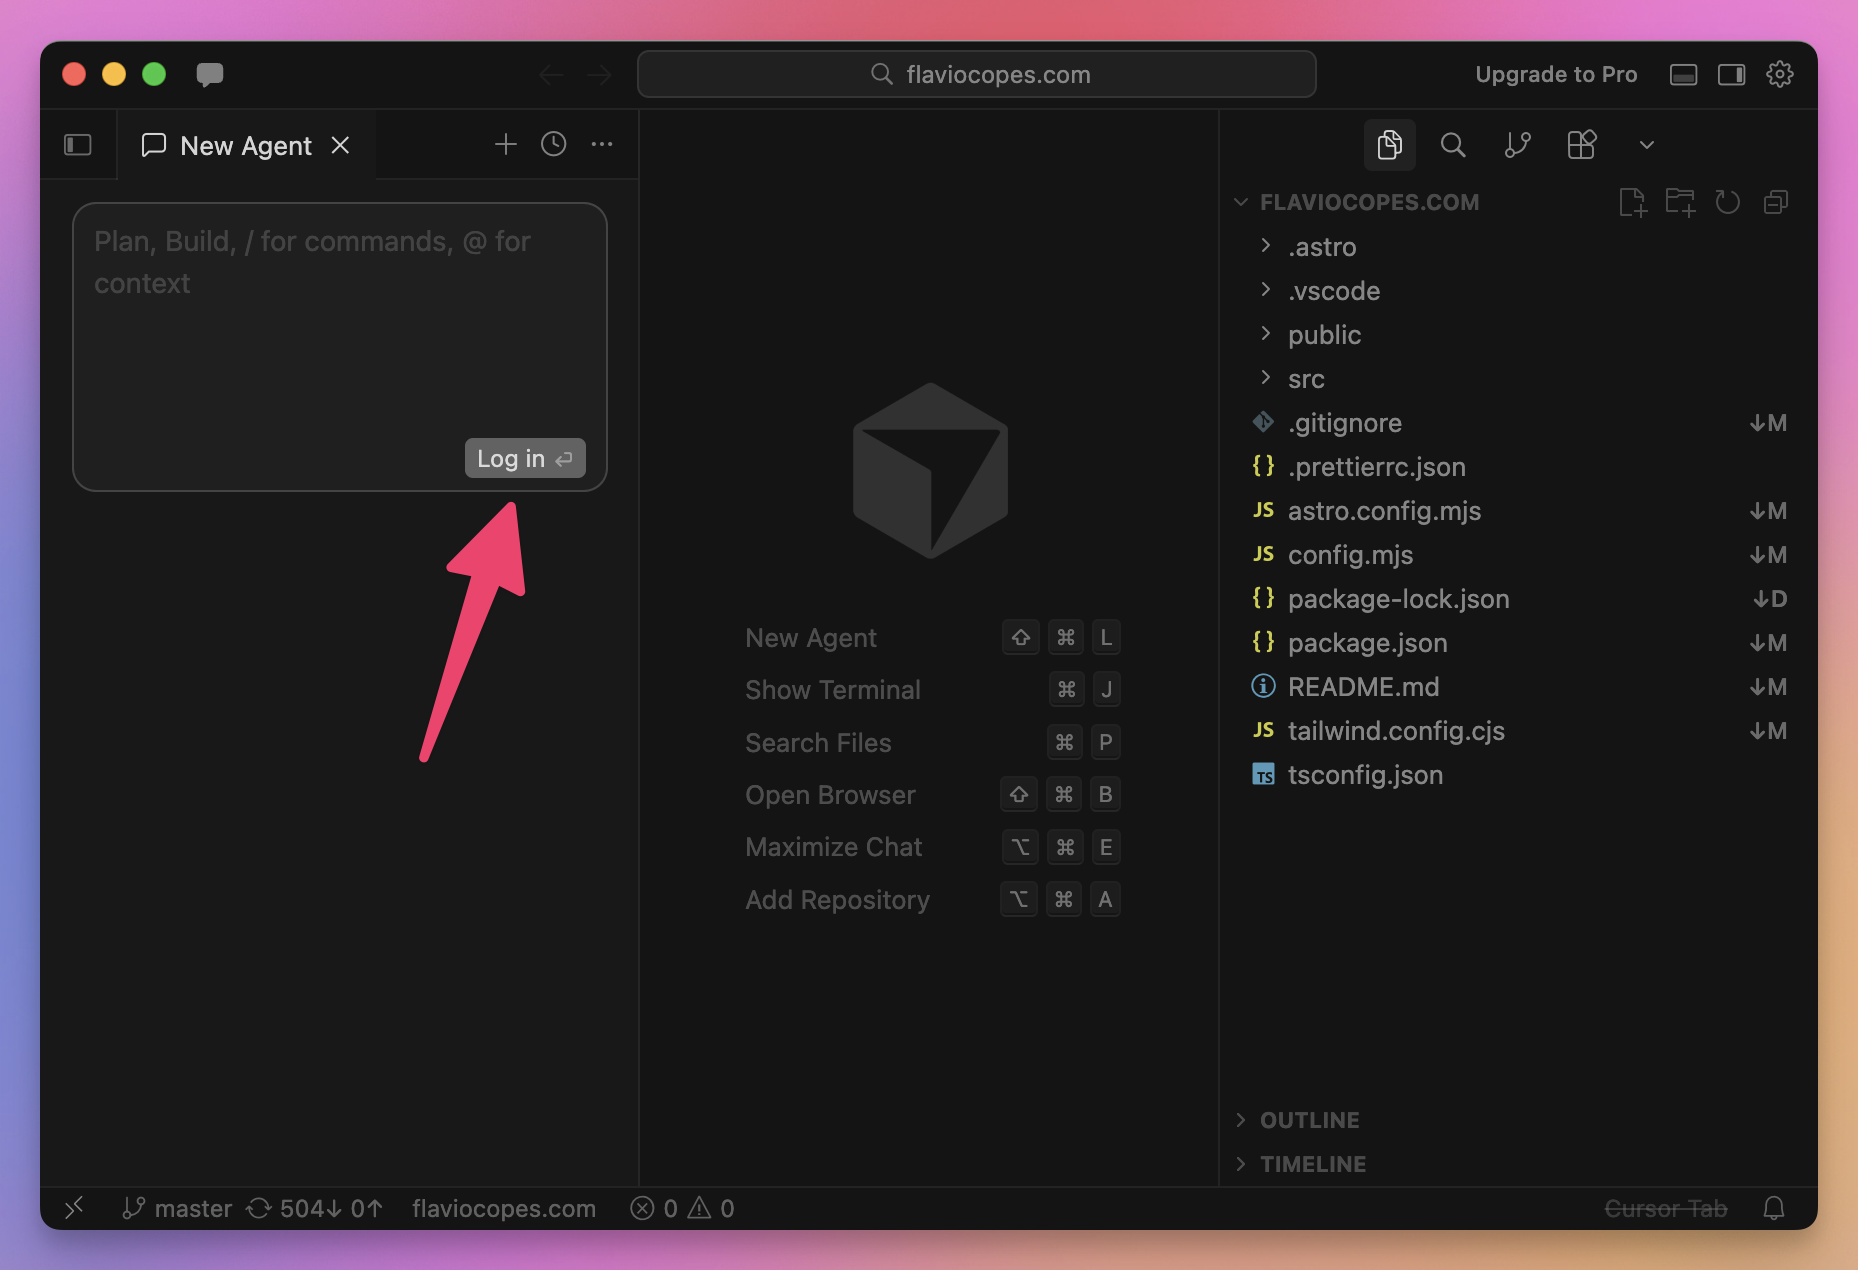
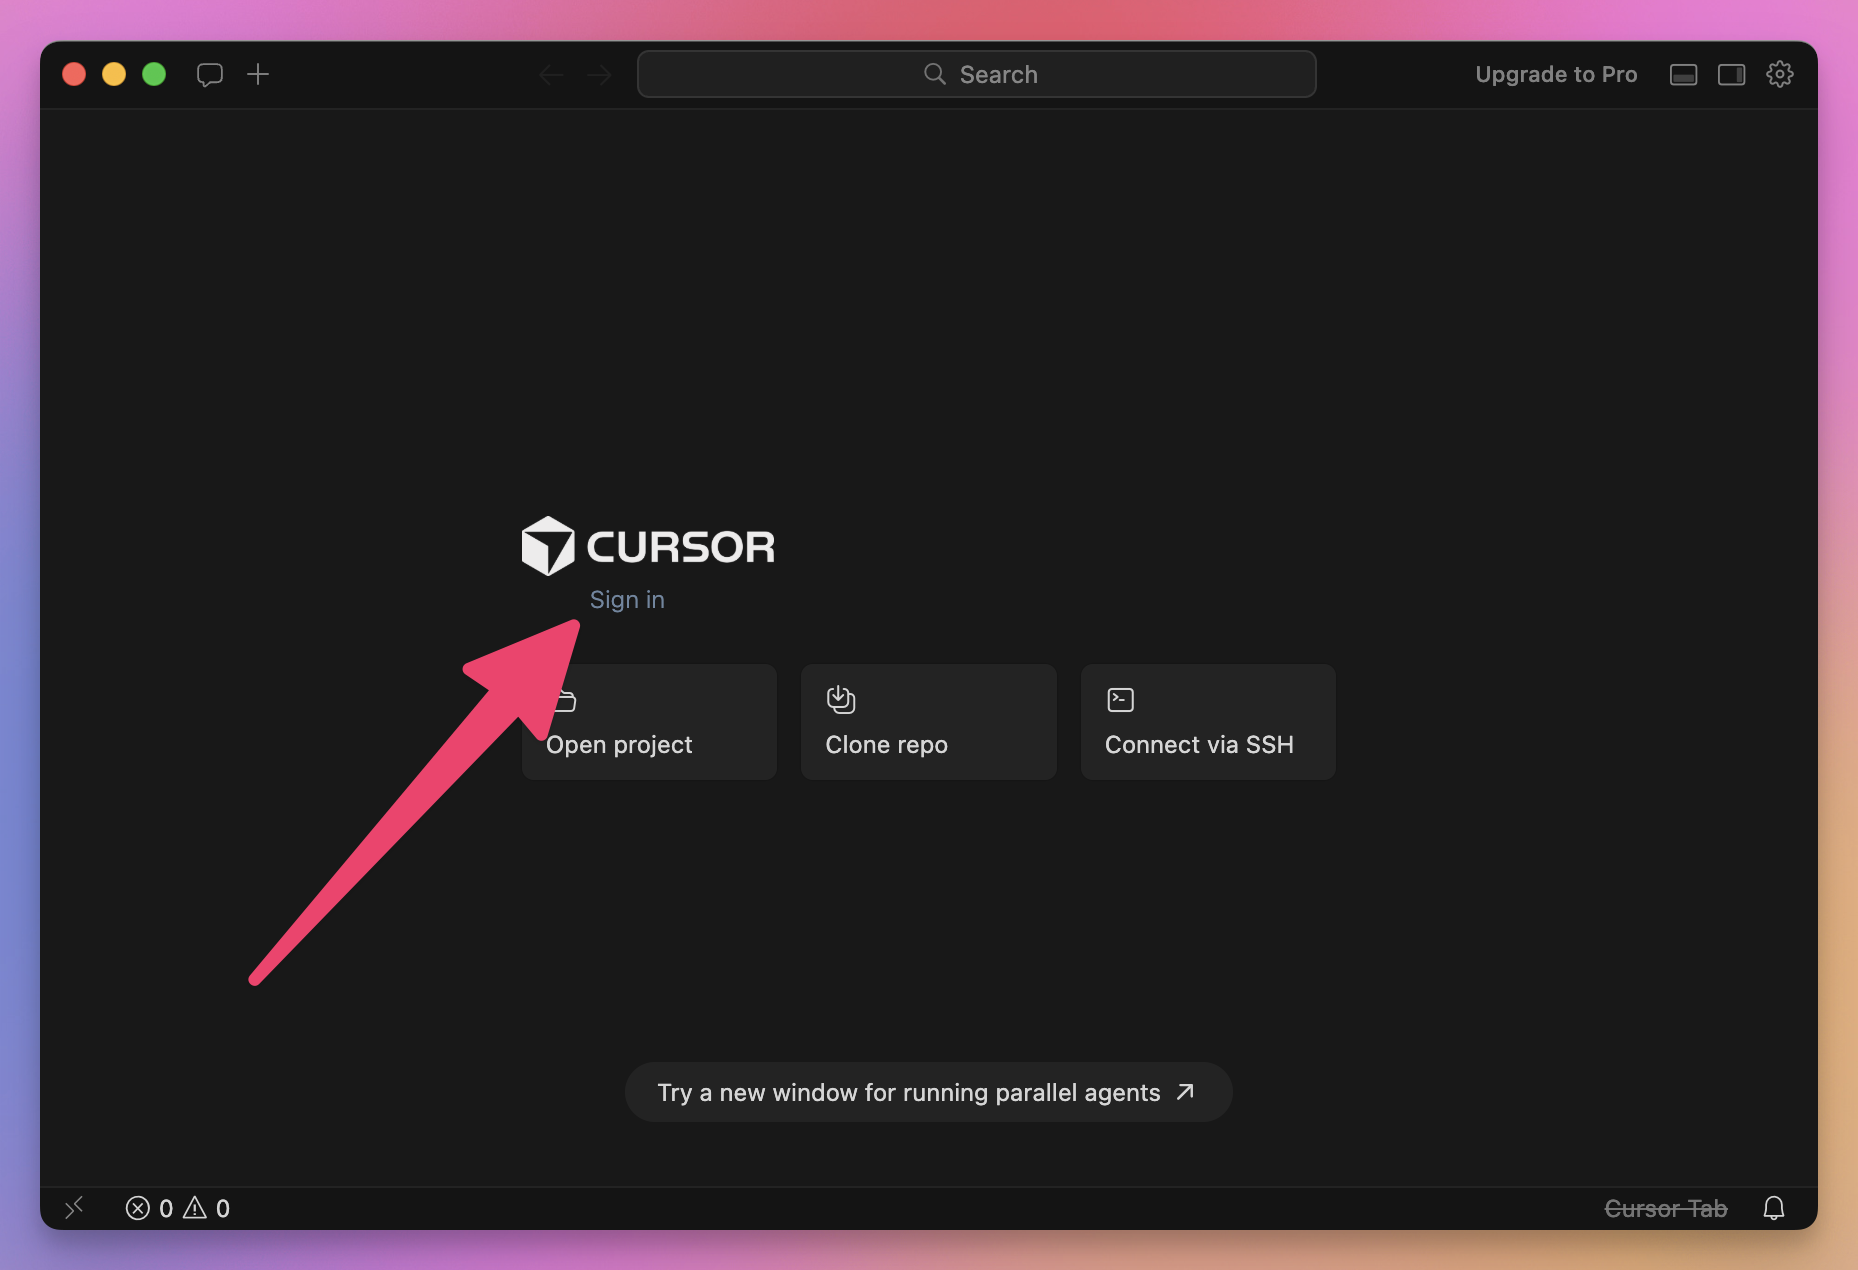
Claude Code is available in multiple “formats”.

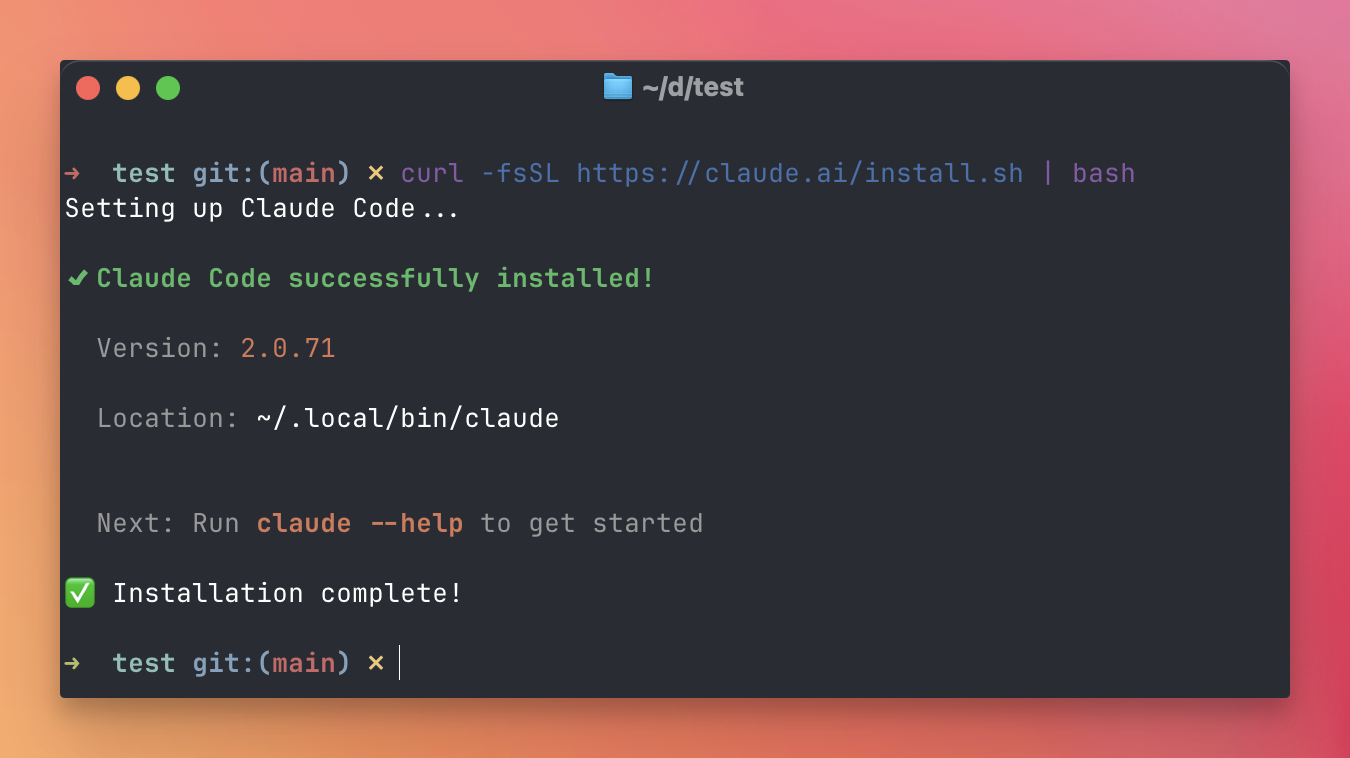
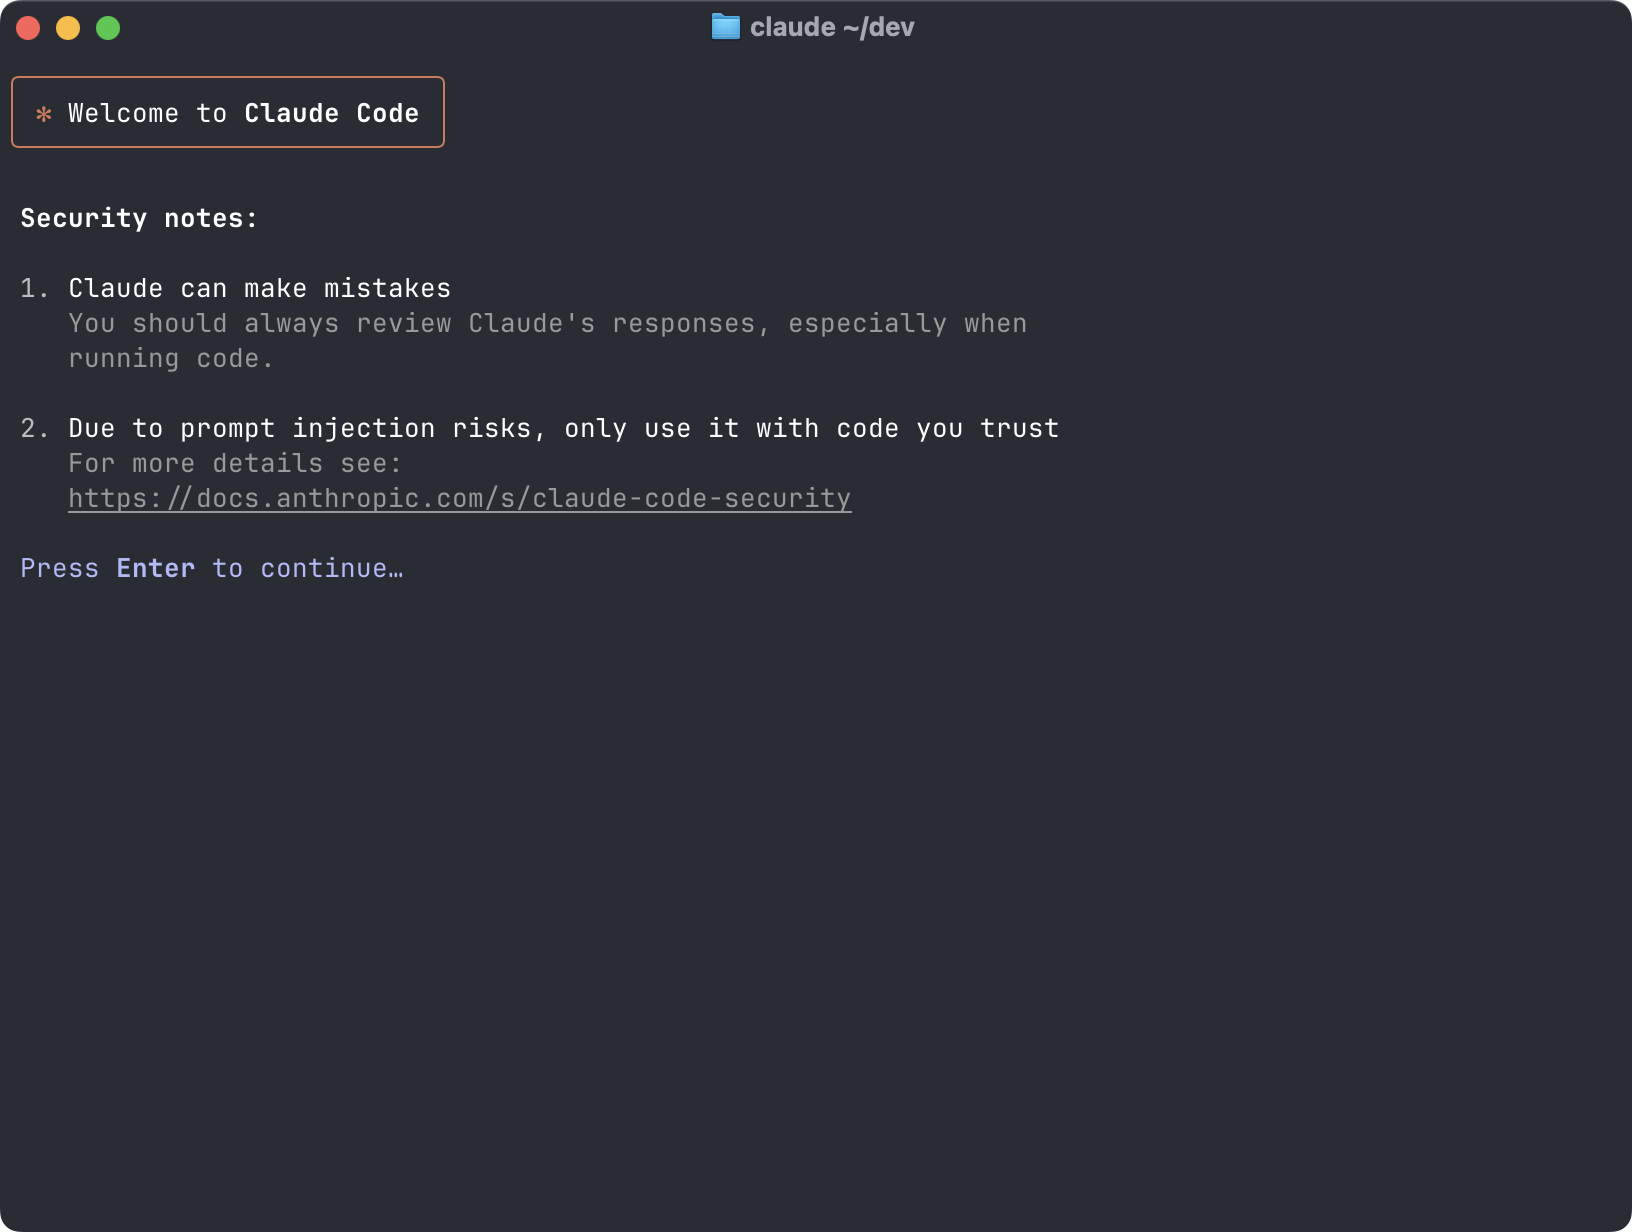
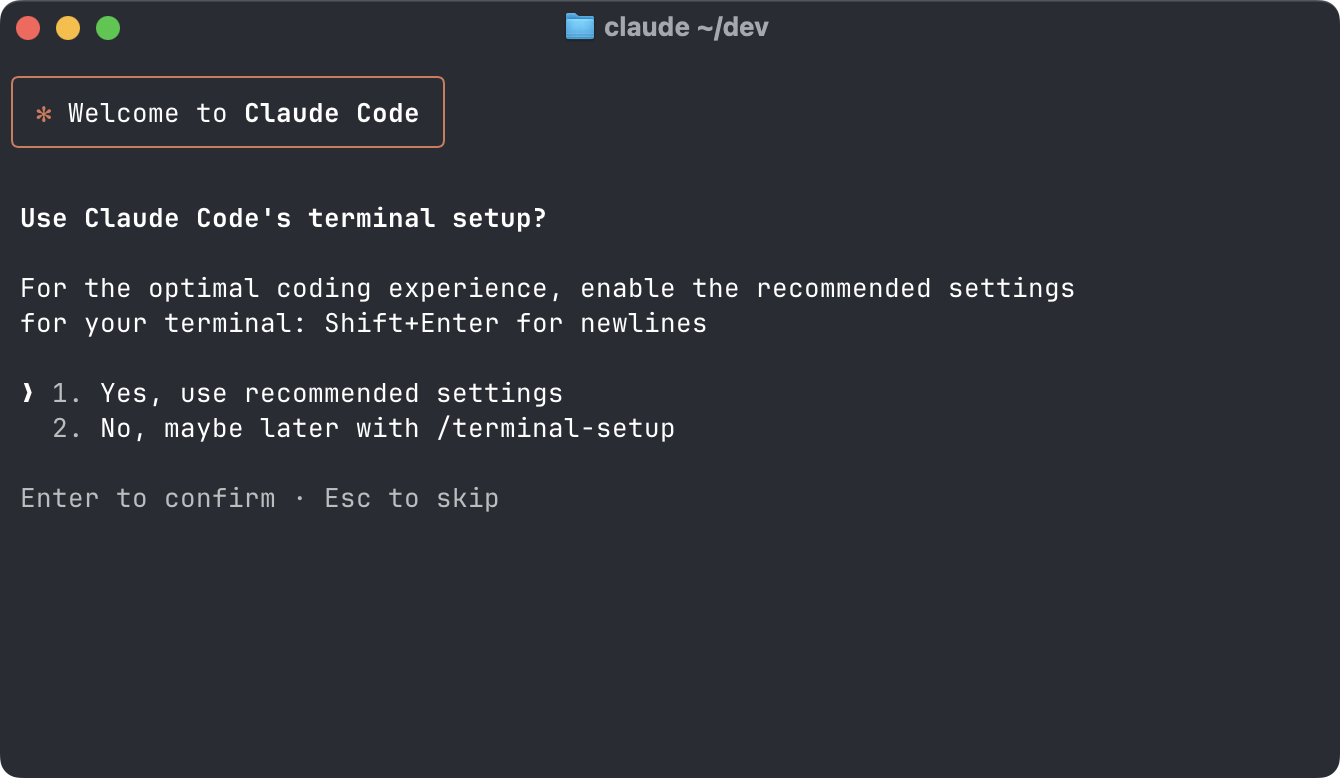
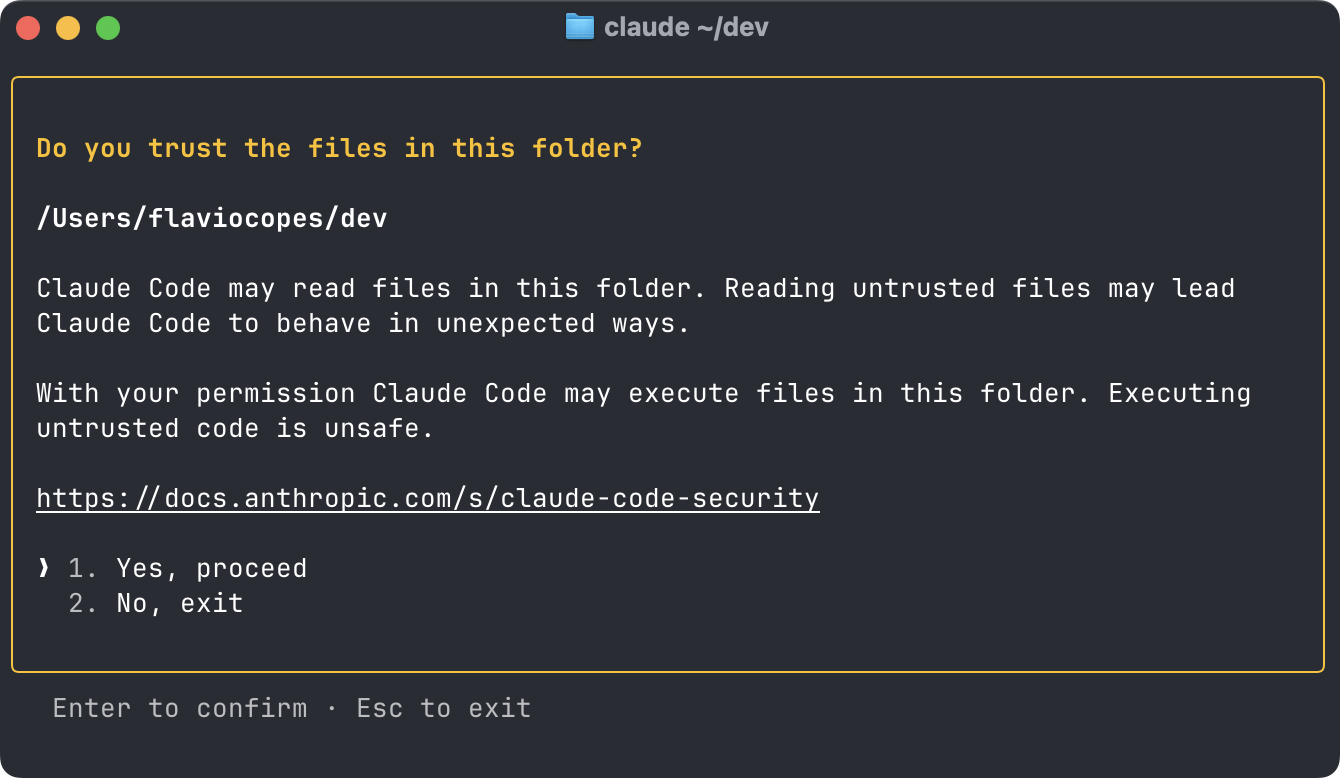
The first one we’ll see is how to use Claude Code from the Claude desktop app, then we’ll see how to use it in the terminal (CLI), the “original one”, the one that made it famous, then we’ll see how to use it within the Claude website, and the Claude mobile app too.

Claude Code was built internally at Anthropic as a way to use the Claude models for coding, and they released this tool because they saw how people got “hooked” into using it internally.

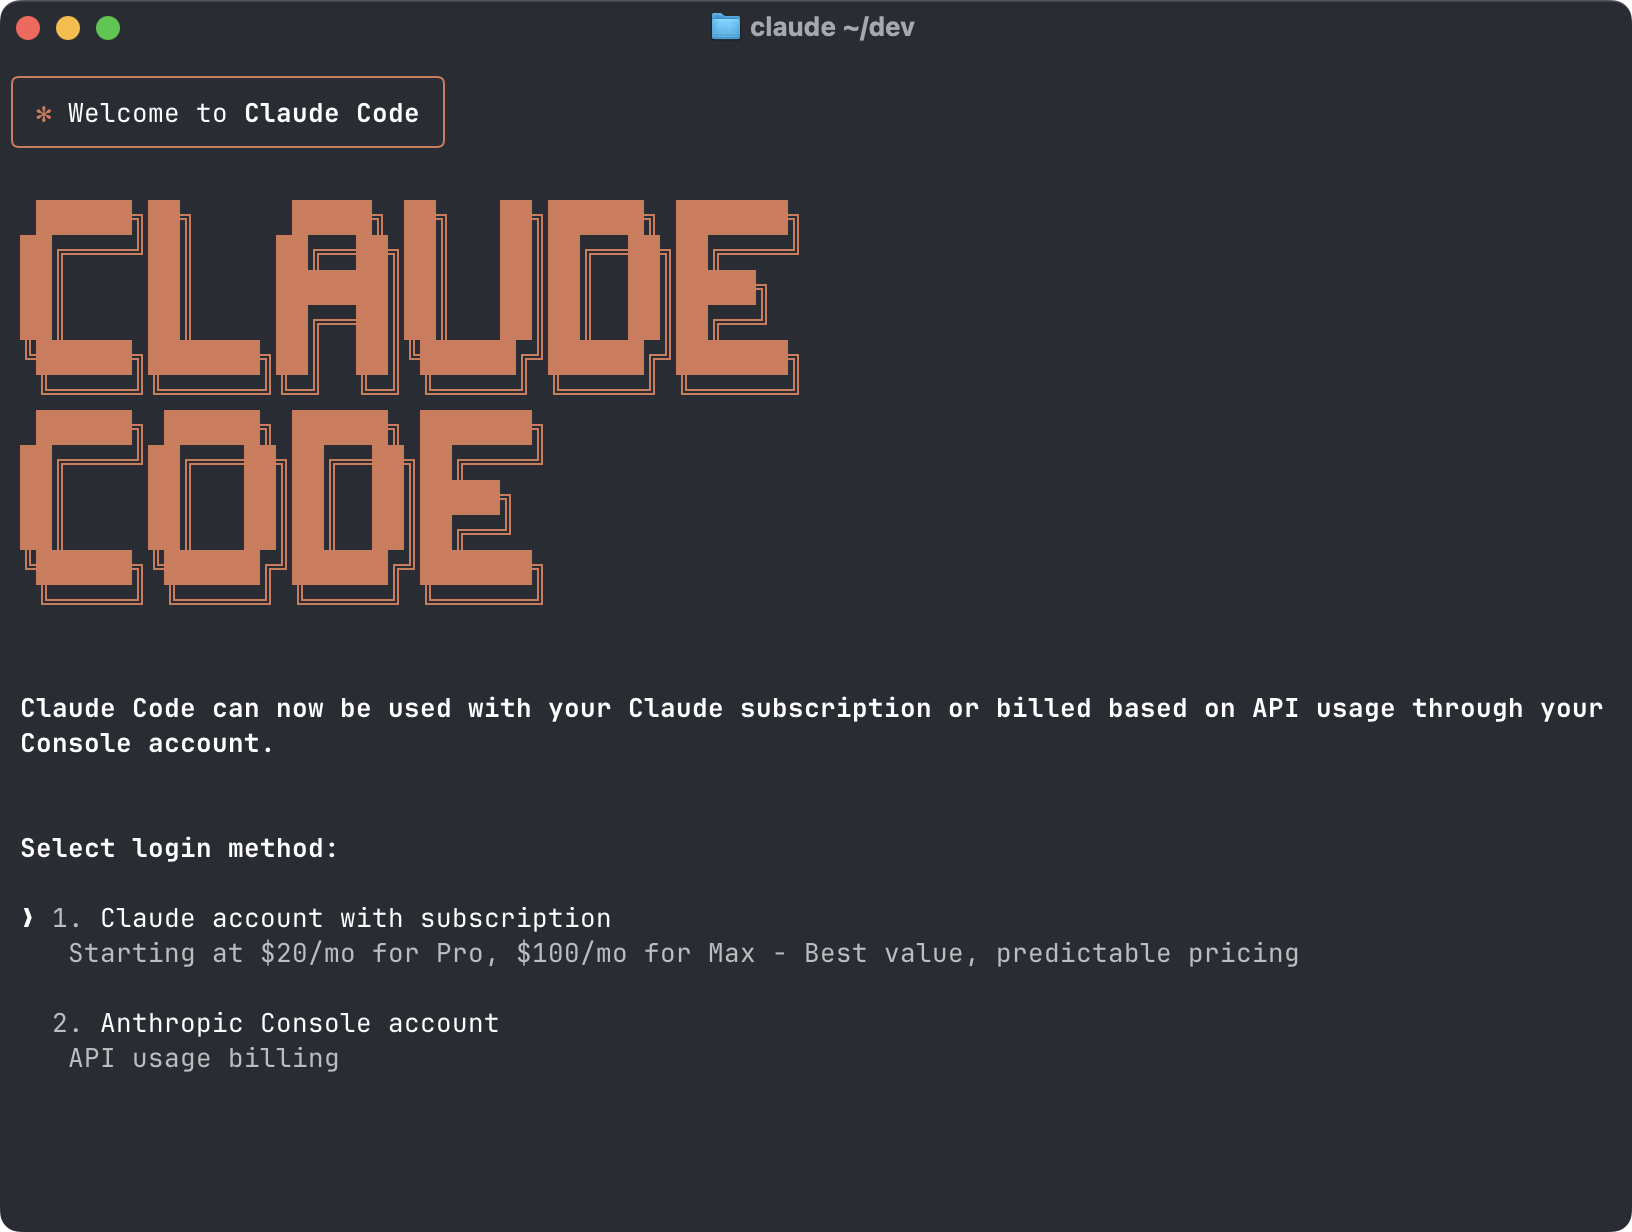
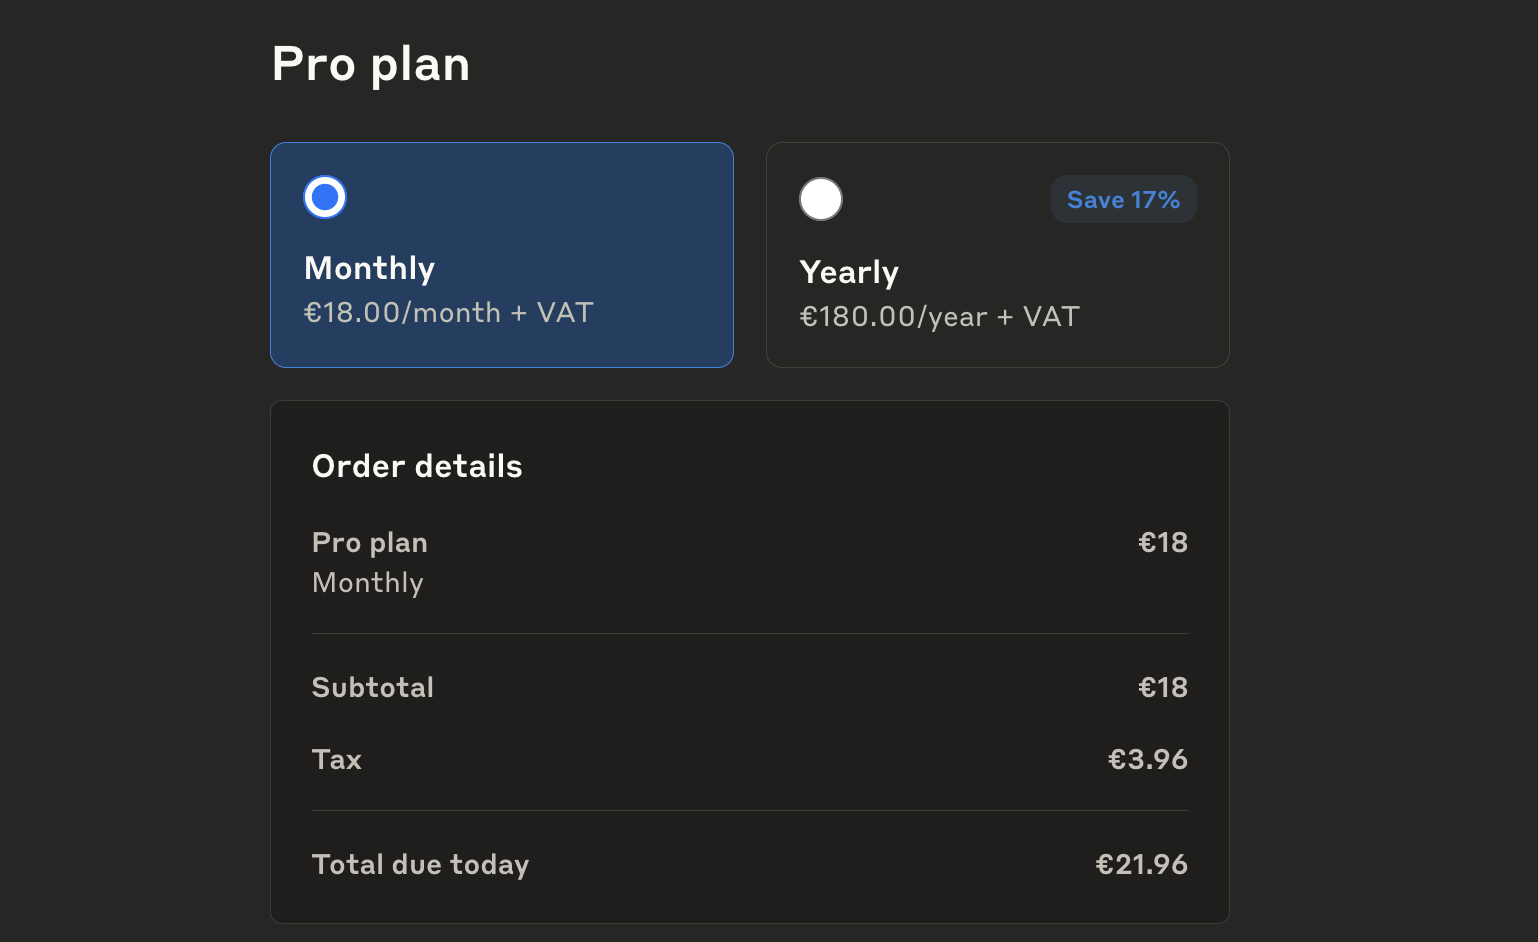
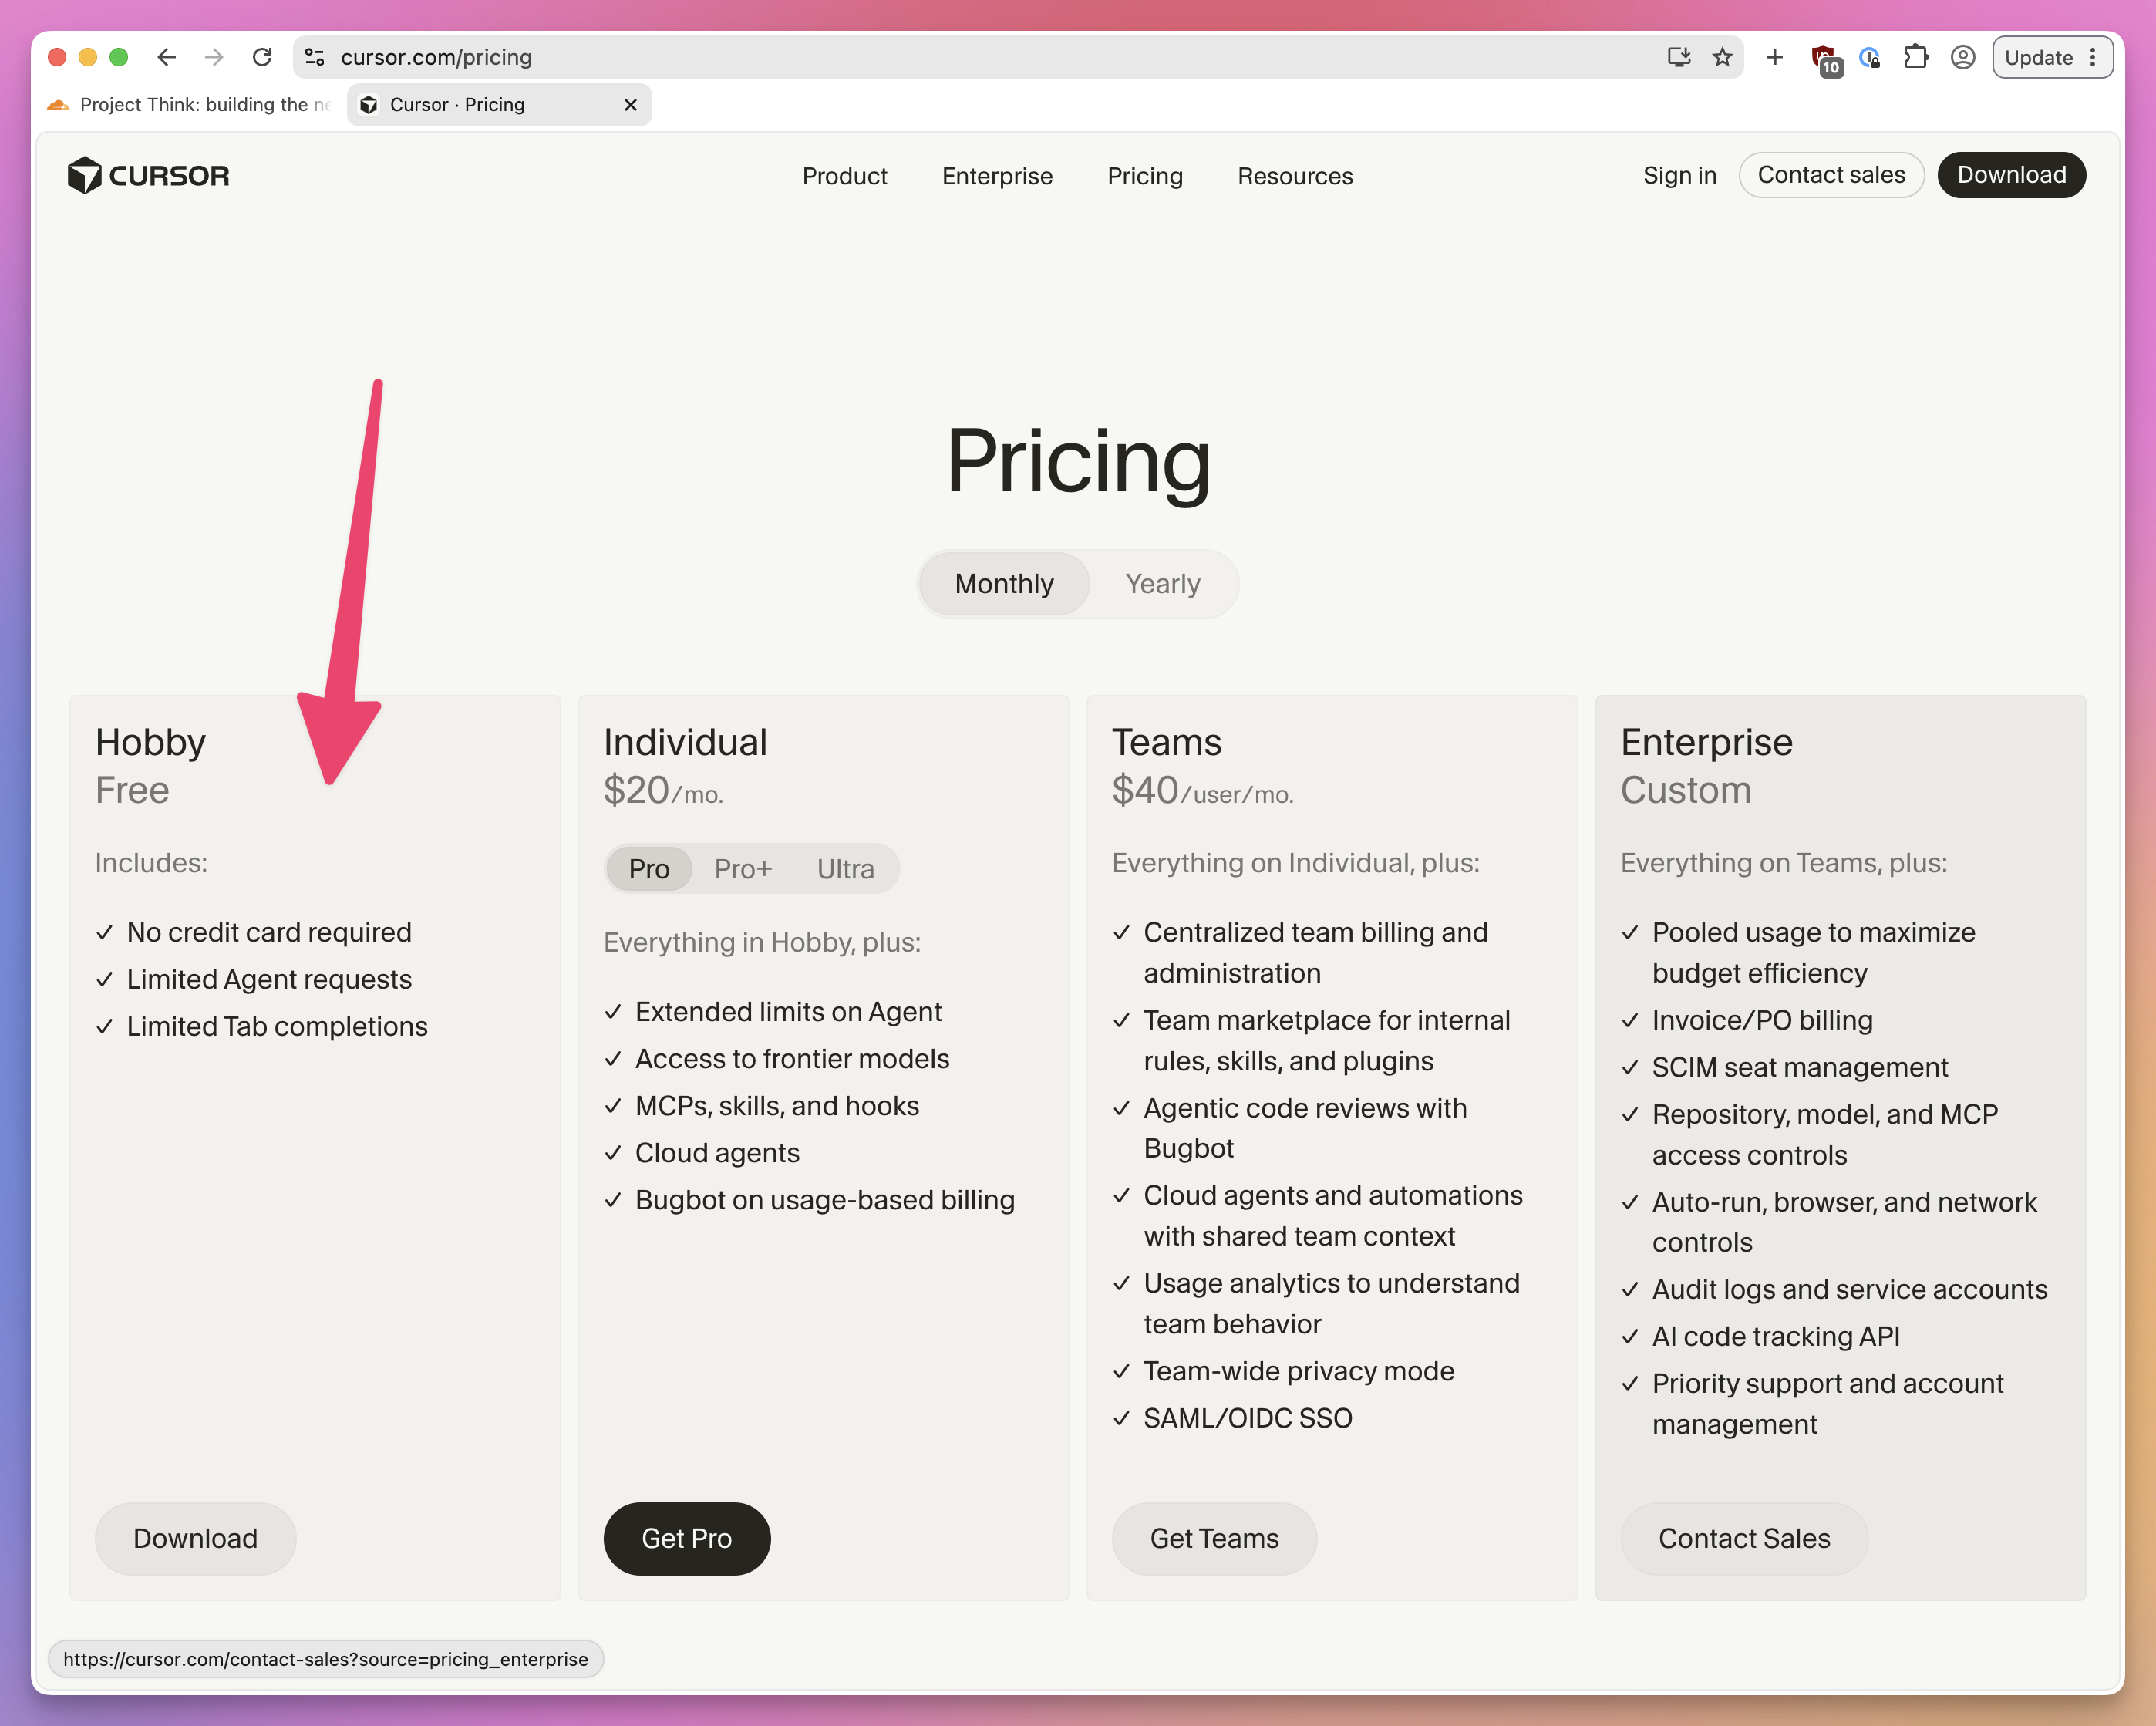
Claude Code is subscription based, and you need a Claude Pro subscription to use it.

You have different subscription levels:

Pro$20
Max 5x$100
Max 20x$200

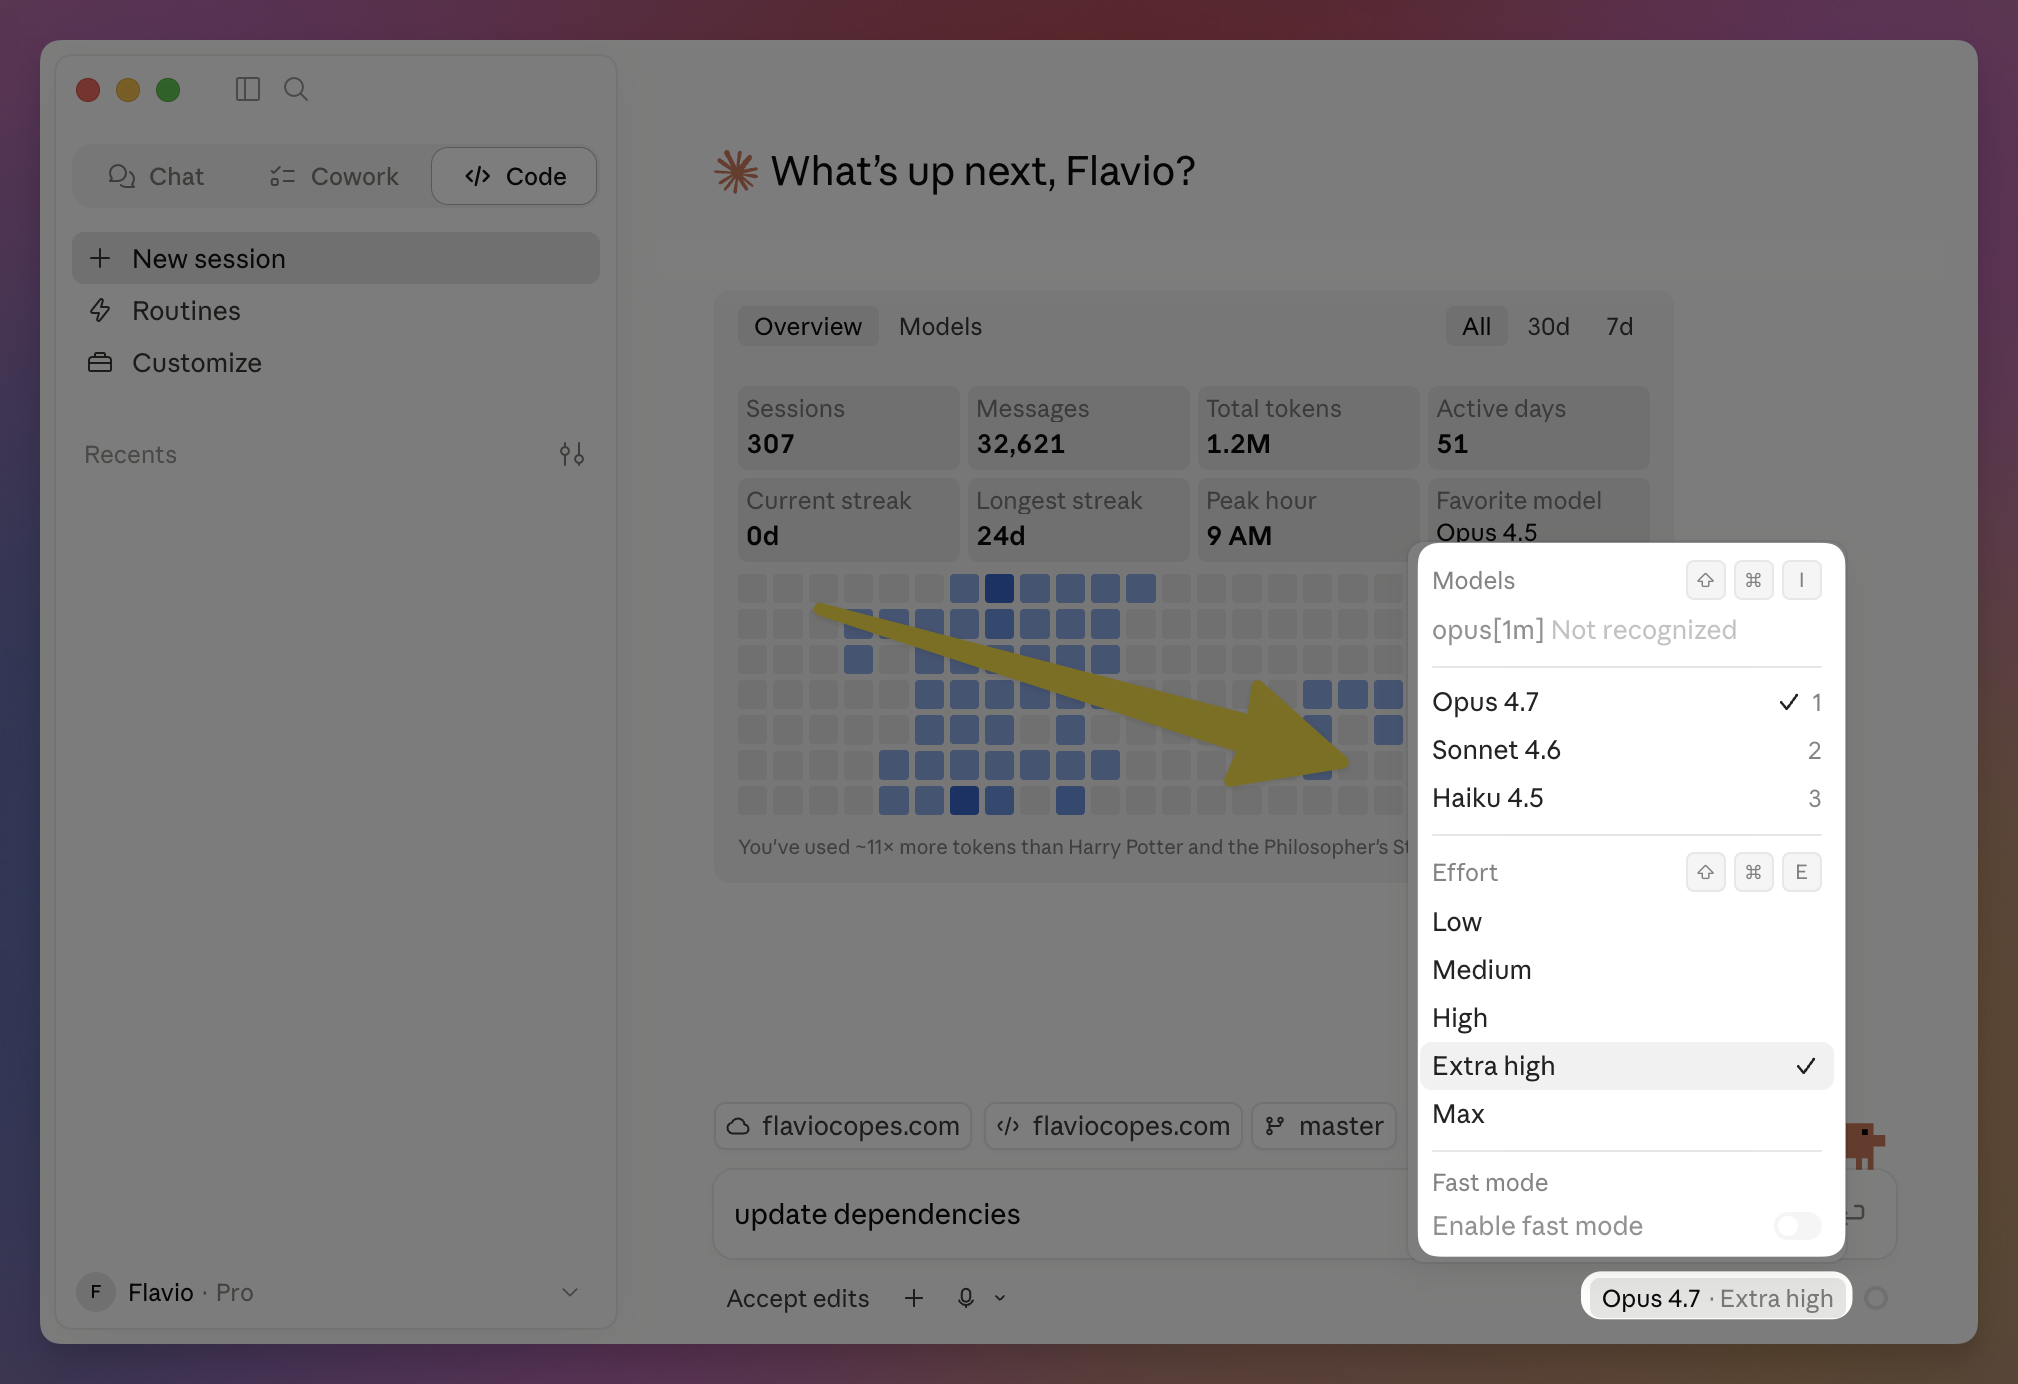
This tool, being an Anthropic tool, can only use Claude Sonnet 4 and Claude Opus 4 as models.

Which subscription you should buy depends a lot on usage.

I'll suggest to start with Pro for $20/m and once you go over the limits in a way that limits your productivity, upgrade.

I think if you end up enjoying the process, it's a no brainer to upgrade to Max plan, that's what many do, but it's good to start with a conservative choice to avoid regretting if you dislike working with it (it’s always a process).

02

Using Claude Code from the Claude Desktop App

Claude Code can be used within the Claude Desktop app (download it from https://claude.com/download).

I think this is a nice way to use Claude Code if you’re not very familiar with using a terminal.

The Claude app is very useful and I use it all of the time along with the ChatGPT app:

See in the left sidebar we have a “Chat | Cowork | Code” switch.

Cowork is also interesting but we won’t talk about it here, as we focus on coding with AI.

Click on “Code”, you’ll see a prompt to install the runtime dependencies needed to run Claude Code in the app. Click “Install runtime dependencies”, then you’ll see a screen similar to this:

Now we have 2 “modes” basically: working locally, and working in a cloud environment.

Working locally is very straightforward, select a folder through the “Select folder” menu, write a prompt, and run it:

You can also optionally use Git worktrees if you want, although I tend to avoid to have a simpler workflow.

You can select your preferred model and effort:

You can also attach images or files easily by pressing the + button as usual, or drag and drop.

Claude Code then runs as if it was in the terminal:

It will stop to ask you questions:

After a while we got our final result:

Now I can click the button with the red/green lines to view the diff:

From here you can add a comment on any line and that will be sent to Claude for further work.

I can also directly create a PR clicking the “Create PR” button, in this case we create a new Git branch and create a PR on GitHub:

You can open multiple sessions of Claude Code at once, on the same project or on a different project, by clicking the “New session” button:

03

Install the Claude Code CLI

Let’s now see how to use the Claude Code CLI.

If you prefer not to use the terminal yet, just keep using the Claude Desktop app, it’s perfect. Come back to this later.

Install Claude Code using your Operating System’s command from https://code.claude.com/docs/en/setup#standard-installation, on macOS and Linux it’s:

curl -fsSL https://claude.ai/install.sh | bash

Refer to the CLI Handbook for more info on using the command line on your computer.

On Windows it’s different if you use PowerShell of CMD, refer to the document I linked above

Once installed, run the claude process:

Alright now you can customize the app’s theme (weird for the first thing, but helpful for color blind people).

Then you login to your Claude account.

You have 2 options basically:

  1. use a Claude subscription (fixed monthly billing)
  2. use the Claude API (variable usage based billing)

Select the first option, and you’ll go through the process of creating a Pro account (that’s what I suggest), if you haven’t already purchased it in Day 1.

After the process (it involves a few steps, including pasting a confirmation code in the terminal), you’ll be authenticated in Claude Code:

Choose option 1 to go on with the recommended settings:

You must also explicitly say you trust the code in the folder you’re working on:

You’re in!

Topics unlocked when you join
Claude Code commands

We already see some commands mentioned here, all very important:

Create a sample project

Now let’s ask Claude Code to create a new project in a folder:

Create a CLAUDE.md file

Back to Claude code, let’s run the `/init` command to initialize a `CLAUDE.md` file

Ask Claude Code to create a simple website

Now we’ll ask Claude Code

Skills in Claude Code

**Skills** are a very powerful feature you can use in Claude Code.

Claude Code Plugins

Plugins are a way to add features to Claude Code, through Skills, custom commands, agents and workflows.

Member preview

Read the first three sections, then join to unlock the rest.

01

Introduction

In this guide we’ll explore Codex, the OpenAI agentic tool for coding.

Codex is similar to Claude Code, but of course instead of using Anthropic’s Claude models, it uses OpenAI models.

Similarly to how Claude Code requires a Claude paid plan, also Codex requires an OpenAI (ChatGPT) paid plan.

OpenAI has various subscription plans, ChatGPT Plus ($20/m) and Pro ($100/m or $200/m) are the most common ones. The difference, as usual, is that paying more gives you more.

See https://chatgpt.com/pricing/ for more details.

Codex is available both as a standalone desktop app, and as a CLI.

We’ll explore both, starting with the desktop app.

02

The Codex App

The Codex desktop app is the primary agentic interface OpenAI provides to developers.

Available for macOS and Windows, Linux support should be coming soon.

Download it from https://openai.com/codex/

When you first install it, it’s going to ask you to select a project you’ve been working on lately. I think if you used the codex command line AI agent they show you projects you’ve been working on there. You can also click the “Add project” button to add other folders:

03

The app interface

Once you’re done, you’re shown the “real” app interface. It’s clean, nice looking, exactly what I’d expect from a polished Mac app:

You can see in the sidebar we have all the projects I added during the setup.

I can hover one and start a new thread by clicking the icon that appears:

Or I can choose it from here:

Topics unlocked when you join
The prompt panel

Here we have the usual prompt panel we have in many other tools, we can use `/` to access commands, we can change the model used and the reasoning, we can add files, we can enable plan mode (also with `shift tab` as commonly used).

Plugins and skills

You can get more commands by installing plugins and skills.

Start a new thread

I have to continuously keep my content up to date on [thevalleyofcode.com](http://thevalleyofcode.com/) and while in the past all was done by hand and with an enormous amount of time invested, now I just ask the AI:

After the AI agent is done

I asked Codex to implement the plan.

Git integration

You can also individually revert changes or stage them in Git, individually or all together.

Access the terminal

If you have the right sidebar open you can click the “+” button to add a new tab:

Member preview

Read the first three sections, then join to unlock the rest.

01

Introduction

In this section I’m going to explain you how to use Cursor, an AI-first code editor built on top of VS Code.

Cursor was one of the first AI-first editors. The first to become “big”, for sure.

VS Code also promotes its Copilot AI features heavily, but they were inspired a lot by the Cursor experimentation.

Cursor aims to be your pair‑programmer with chat, inline edits, and agentic coding.

It was born as an IDE similar to VS Code, and you can still use it like that, but in its recent release of version 3 it introduced an AI panel similar to Claude Code, OpenCode or Codex, called Agent Window, and that’s what we’ll focus on.

Cursor has its own subscription, with a generous free trial.

02

Install Cursor

If you haven’t installed Cursor yet, download it from the official site (https://cursor.com/download) and run the installer.

After launching, you’ll see a Welcome view. You can now start using Cursor as a “normal” editor without AI features:

But to use AI features you need to log in:

You don’t have to pay in the beginning, just register to use the free plan:

You can also just click the “Sign in” button in the welcome panel:

You sign up with your email:

Here’s I’m signed in to my plan, I have an Ultra plan so this shows up:

Now I can decide to use the “classic” Cursor view, very similar to VS Code and similar editors, if you’re familiar with that:

Or you can click the “Agents Window” button on top to use the new Cursor interface, introduced in Cursor 3 in April.

03

Free plan vs paid plan

Let’s talk about plans.

I’m using the Ultra plan, as you might have noticed in the screenshot.Notice Cursor will tell you are on the free plan.

The free plan is a limited 7 days trial of Cursor’s features, which is a bit limited in the AI capabilities it can offer you (at some point it’ll stop and you’ll have to upgrade to a paid plan).

But it’s great for testing Cursor.

You don’t need to pay right now, if you’re still trying it out.

At the moment Cursor offers, for individuals:

  • a free “Hobby” plan
  • a $20/m “Pro” plan
  • a $60/m “Pro+” plan with 3x usage compared to the pro plan
  • a $200/m “Ultra” plan with 20x usage compared to the pro plan
Topics unlocked when you join
The models used

Cursor uses a range of large language models to power its AI features. The specific model depends on your subscription level, but basically

Your first project

I’m going to show you how to use Cursor Agents Window by creating your first project.

The right sidebar

As you noticed the right sidebar in the Agents Window is super powerful because it can display various kind of information depending on what you need.

Design mode

One very interesting feature of the built-in browser is Design Mode.

Modes

When prompting the agent you can choose between 4 different modes.

Choosing a model

The agent interface by default uses “Auto” as a model.

Table of contents